Sunday, April 30, 2017

quick roubo bookstand

On pager-duty this weekend so i was chained to the garage but, hey, i needed a low pressure quick project to do after the tedious and exacting work with our bed.

some offcuts of sapele from my kitchen countertop were just the ticket for a Roubo bookstand. there's something elegant about carving the knuckle joints out of the middle of a board, then slicing it and seeing the work part like magic. i also wanted to practice a bit of relief carving. it is work i plan on doing more of when there's less furniture to make for our house.

Well today it wasnt magic with the knuckle joints. they needed some persuasion to open up. Should have made a few more action shots of my chisel action. i drilled out the slots where most advices suggests using a pad-saw. I've seen Schwarz use a single drill hole that he uses to "floss" the cuts with a fret saw blade. I drew a series of pilot holes, and then used his hole cutting technique to connect them. either approach is a b*tch. alack.

This one is about the size of a touch-screen notepad that we use for consuming the news at table.

Sunday, April 16, 2017

queen size bed iii (fin)

continuation from part ii I Used P. Galbert's chair finishing schedule from his delightful book "Chairmaker's Notebook". It involves a layering technique of red milk paint and then black, with a burnishing to let the red eep through in spots. then a topcoat of thinned out oil poly. the paint i used was general finishes' which comes really too thick from the can so i water it down a lot to get it to that inky texture that Peter discusses. it's a lot of work and was a good practice.
Picking up from last log entry, I am now fitting the stretchers to the footboard and headboard sections (which were previously mortised before glue-up. This being poplar it was not too hard to get them driven home.
Here's a detail of my glueup plan for the foot board (which is how i did the headboard's lower stretcher, too). These will be pegged as well just to be damn sure
I wanted this pic included to illustrate how i drilled the holes into the stretchers, using a long 3/8 bit and the post's predrilled holes as a guide. I took the time to build some clamping blocks to attach to the rails so that they would hold the assembly together after It ahd been squared up. worth the time, and it worked a treat, actually. i was sweating this a bit.
I neglected taking a pic of the frame with the red undercoat...probably too caught up in the fact that i was painting something so big, so red...here it is with a few coats of black-ink
and here i'm burnishing the black to just skim off a bit of the high spots. there are some wobbly places from the spoke shave that reveal my familial tremor. just have to roll with it. i like the tool marks, as long as they add to the overall effect. nice little scallops out of the wood that really show in this finishing technique.
Mr. Jonas Jensen's blog here discusses aging hardware using the acid from burning onions with your hardware to age it. I tried and like the results. Basically i just heated up my bolts really hot on the stove, and then caked them with some minced onion, 'quenching' them a bit. I returned them caked with onion to the flame and it really did burn those bolts nice and brown. I love carmelized onions.
Here it is installed. I built it maybe 2" too long and will have to adjust at some point. We are getting a fancy new mattress delivered on Thursday, so i will wait until it's here before making any final revisions to these rails!
Oh, PS, I built this "spine" for the mid-span support of the slats. Queen sized beds are 60" wide so it's too long a reach to do without some sort of post to keep things level. this was skrewed to the slats

Saturday, February 25, 2017

queen size bed ii

Continuation from part i

well a fair bit of water passed under the bridge. here the headboard stands, in the white. THe frame is in poplar and i plan coat this with milk paint using a 2 tone schedule: first red, then a bit of topcoat, then black. burnishing/scrubbing will show small patches of red through the black and I think that will be nice. The center panel is reclaimed redwood from some northern CA water tower. I pulled 1/16" sheets of veneer off the bandsaw and applied this to a substrate that was scribed into the frame

first a small change to my shop arrangement here. i pushed the workbench up to the south facing sidelights of the garage and hung some tool hangers on a piece of scrap 1/2" ply on the wall. So far this has been really pleasant to the workflow.
I originally conceived this project to have a curved panels, captured into grooves routed into the surrounding frame. I tried a 3 layer layup using solid poplar sheets milled to 3/32" thick. Unibond 800 urea formaldehyde glue bent around a platen like so. However I was not happy with the springback and I was worried about how the hell to scribe this into the surrounding frame.

Maybe I cuold have used a thin sheet of bendy-plywood between the two layers of veneer, and it would have hugged the curve a bit better. I have searched and searched for ideas on the web on how to do this but still no go...

I started with laminating poplar up to make the headboard posts such that i could bandsaw the curves into the raw wood. I guess this is brute force way of doing things but poplar is cheap and the joinery is a bit easier to figure out if it can be done at 90 degrees. I made a few templates to make the lines. I freehand this on the bandsaw. It's helpful to keep the offcuts so that you can doublestick them to the piece when cutting the adjacent lines.

Here you see i've used the tablesaw with a crosscut sled to define the tennon shoulders for the upper rail joint.

Now i have the rough frame assembly. My next move was to bandsaw the inside curve and then scribe a panel to this
I pattern routed a bunch of ribs out of a full scale drawing and notched them into a leading and trailing edge which i fitted into the inside frame.
I estimated the rough size of the leading and trailing edges from placing a rib insitu. I'd then use a jack plane to shape the 8deg bevel on each edge of the assembly once it was all glued up.
i will be laminating the veneer to a 1/4" nominAL wigglewood substrate glued to the subframe. i figured it'd be easiest to just scribe in the two curved pieces on the side and then skrew in the middle panel
i used washerhead screws to clamp the wigglewood to the subframe while the glue dried. I then applied some putty to the screw holes after the screws were removed. since the veneer is so thick, i dont think i needed to do this but it was easy enough to do.
here's what the panel looks like from the underside. I filled out the curved sides with some spare ribs. Since this is facing the wall, i figure it's okay to reveal this stuff.
here are the veneers that I pulled off from the old redwood, edge jointed to be about 16" wide overall. bookmatched. The wood is so dry and there are a few deep cracks running throughout that impart some "rusty" streaks. I'm Ok with this though...The green tape is something called "binding" tape. it's wonderful masking tape that has a stretchy property, so it works really well at pulling edge banding to plywood, or in this application where you're edge joining thin sheets of wood.
I am using some Unibond 800 that is past it's shelf life but still seems to dry. it's too cold in the garage to cure properly, so i set up the vacuum bag to chooch all day and over the night. luckily it fired off by the morning. The pump is fairly quiet so we were able to sleep despite the noise
To make the bandsaw cuts, i kept the remaining offcuts and reattached them using doublestick tape so that I could make the adjacent cuts
Here's what the backside looks like. It's not so glamourous but since this is the side that faces the wall, i'm ok with it. the panel will be skrewed into place by the tabs you see here

Monday, January 2, 2017

slight detour into some spoon carving

i think i'm burnt out.

i'm trying to attack this bed frame project but keep looking for other things to do. so much compulsory work this year in my shop with the kitchen and bath remodel...by the time i started making furnace vents for the floor kicks i had had it up to *here* (points to throat) i just want to have a bit more fun. try to use my hands and find their way through the grain. drape this mindset with a long standing desire to get into the kind of woodworking that i *really* want to do which involves carving and cleaving tools. I really want to build some wild appalachian ladderback chairs someday. work with green wood entirely.

well last couple days i just decided to let things run their course and finally set myself down to carving some spoons. never tried that before, and wow has it been fun! Today, i carved out a spoon from a knotty cut of madrone that our friend Suki handed me after we returned to her house from a walk in the hills above the Russian River.

I wish i had taken a before pic of the madrone. it's a "weed" up in these parts, but gorgeous and tight grained. extremely hard when dry, but carvable when it's green. It had a few knots that needed to be taken into consideration, but when you flow with the grain of the wood, you end up with some pretty cool shapes. the crook of this spoon just happened that way to meander around a knot.

I don't have what you'd call the best spoon carving toolkit, which might include a hook knife and a larger gouge. instead i used a 1/2" #9 sweep gouge for the bowl. I would like to get a hook knife kit and then maybe a wide #7 gouge as well to help hog out the bowls. carving is very much about setting yourself up to take clean cuts without putting any of yourself downwind of a blade's throw. I didn't take the interim shots of the spoon's progression. I hogged out the bowl from the wood billet first, then roughed out the shape on my bandsaw, then refined it progressively using a knife chisels and my spokeshave. I further refined the bowl using this sort of cut where my curled up fingers hold the gouge and only allow a small amount of movement. So many tricks to learn.

while at Suki's place, this 6board chest caught my eye. it was a very handsome box...

Saturday, October 22, 2016

queen size bed i

I'm looking to build a new bed for us. our current system is just a mattress on top of a box spring, on top of a foldable metal frame. it's i guess easy to carry from one apartment to the next, however i'm interested in something a little more comfortable, having a back rest and good stability.

I've been sketching this in my notebook for a while. Originally wanting to have some built-in drawers underneath but finally scrapping that idea. i dont' think we really need storage there since there is plenty elsewhere and it makes the whole project much more complicated.

I still like the idea of some cantilevered bedside storage for each of us that I'll have to design some way of attachment to the headboard. I'd like for these to be fairly sturdy, just in case someone tries to sit on them :-)

before hunting down the timber for the project, I first needed to make a full scale mock-up of the headboard. You can see it curves in two directions, inward and back. I want to do laminated curved panel, like the one I did for our guest bedroom futon.
I still have not figured out how to do a captured panel with grooves in the surrounding frame, though. In the previous work, I had the panel attached to a subframe that could readily be skrewed into the surrounding frame. This seems kind of ugly for the back of a bed's headboard, which while usually propped against the wall, is still something you can see if you're a nerd squinting around the edges, right?

Sunday, October 9, 2016

a built-in book case for Jen W on Market St.

Today I finished Jen's built-in book case for her home/office. Here are some install photos
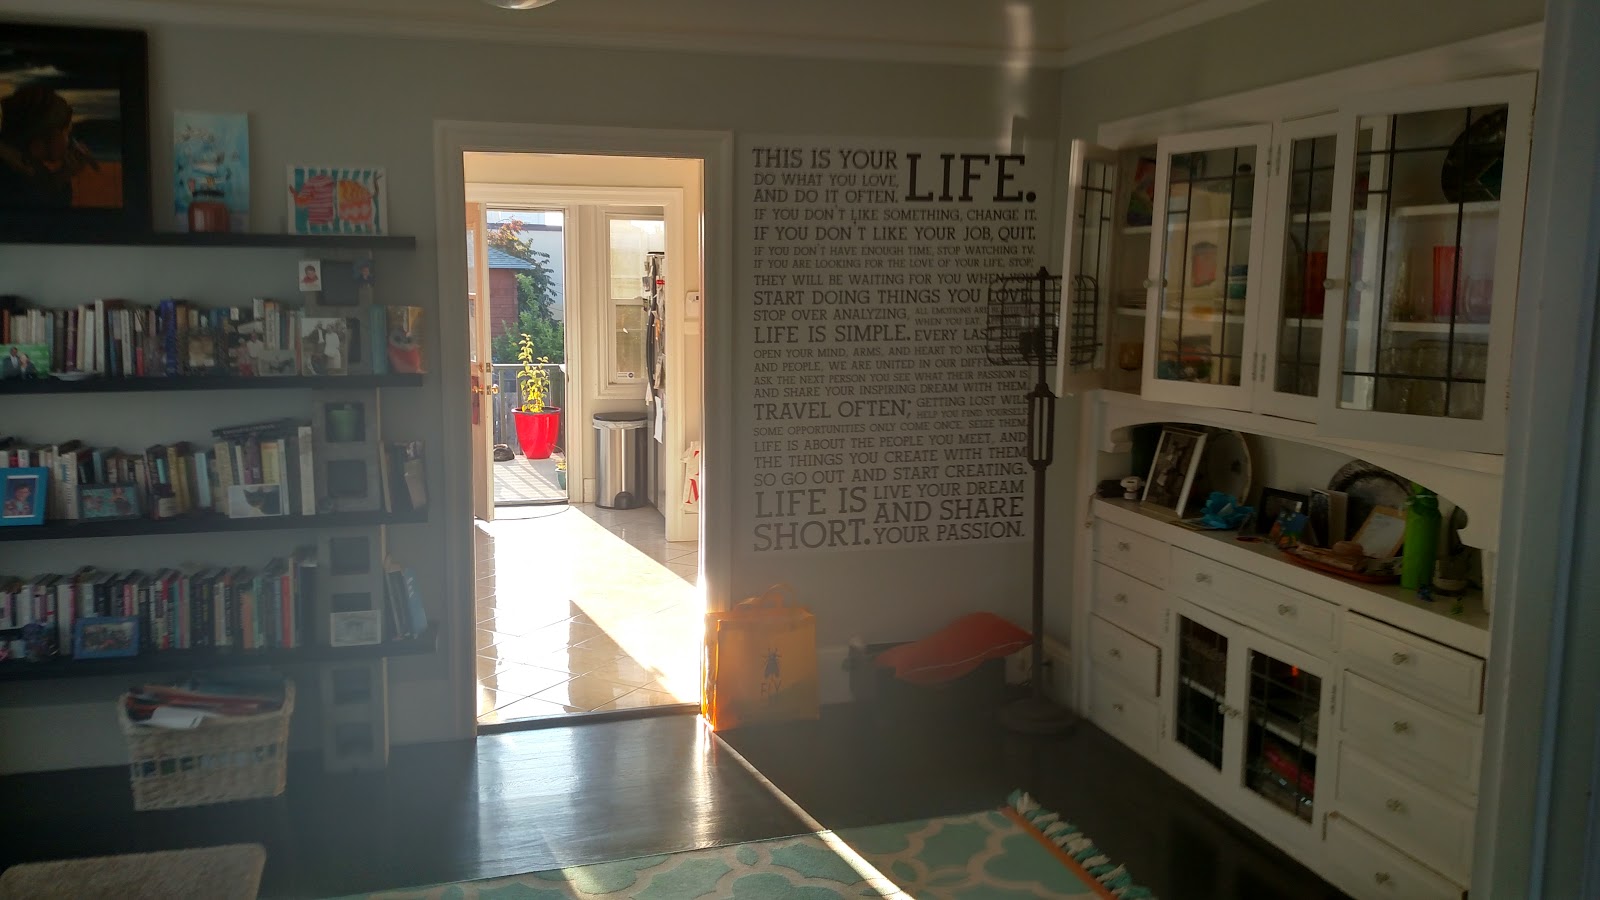
The process began with a review of the current space. THere was a cinderblock shelving unit which she wanted to replace with something that fit the room a little better. A handsome built-in on the wall facing the windows is an example of what you'd typically see in one of these craftsman style bungalows all over the east bay area. I wanted to do a book case that was the same height, roughly 84" in line with the casement molding of the doorway into the kitchen.
Before I left, i made sure to take a lot of photos of the existing molding profiles as well as I could. I ended up making the base molding for this shelf using the similar base molding profile along the walls, so as to blend in.
Now some drawings in Sketch-up for Jen to review. We iterated on this a couple rounds. There is a surrealist painting by a close friend of Jen's that she had on the top of the improvised shelving that she wanted to be featured more prominently in this construction. We decided on this one, where the painting is hung from a floating panel attached to the center of the book case
To mount the painting, I decided on some adjustable height french cleats that can use the existing shelf pin holes. French Cleats are very handy for mounting things in plane. I used 1/4" dowel pins that could be driven into the holes on the shelf sides
Every built-in I do starts with a base-frame that I try to get as perfectly level as possible. THe bookcase consists of two stacked boxes that will be skrewed onto this base once it's level
Here we see the two case-boxes stacked onto the base frame. THese were skrewed into the wall studs along their respective top edges using a 3/4" nailer strip that was attached to the back, and then shims to accommodate the out-of-plumb wall. all walls are out of plumb, y'know...

I then applied the horizontal molding pieces which were already pre-mitered and painted. I just needed to cut the waist and crown to lenghth and then nail them in place. Since the floor was not level, i had to scribe the base molding into it first. Once these were nailed in, I could attach the vertical scribe molding to the walls.

Using my spoke shave to cut the side molding to the scribe line. I had to get creative with work holding using a hand clamp. My sawhorses, Kirby and Matilda were very helpful. It was largely an unplugged day, save for my battery powered drill and driver.
Update: today i got a photo with all her books returned