Bead blasted gorgeousness thanks to Meyer's Sandblasting in Fruitvale anex of Oakland.


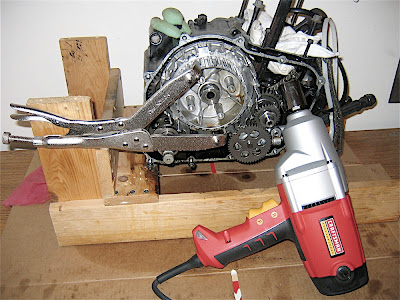
Time to install a new timing chain. Off with the clutch...Inner clutch assy. lock nut is really on there. Need cheeterbar on the socket handle, and to track down a spanner wrench for the grabber. ugh. soft aluminum.

Someone on a moto forum suggested welding the old steel clutch plates together and then a handle to them. Makes much sense, especially since the ones I got are kind of old and warped:

I opted for the Impact Wrench solution. Craftsman model 27299, rated at 250ft/lbs. Bap!Bap!Bap!Bap!Bap!Bap!Bap!Bap!Bap!Bap!Bap!Bap!Bap!Bap!Bap!Bap! and it was off like nothing!
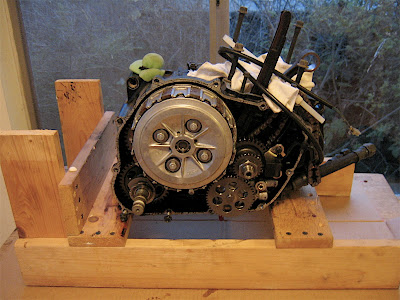
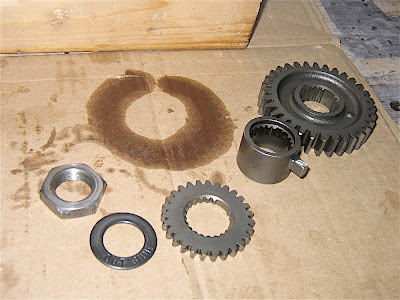
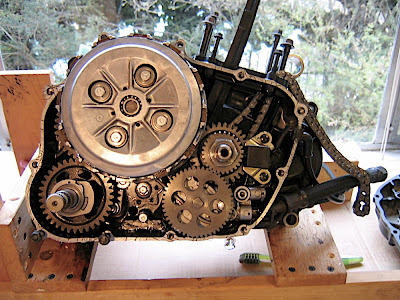
Same deal for the lock nut that holds everything down for the main drive shaft. Notice that the splines are keyed so that they only go on a certain way. This ensures that the pulse generator (that detached black box thing to the right of the drive shaft) gets impulse from the pulse rotor nubbin at the right time.
OK, new timing chain looped onto the shaft and ready to go. Funny, the one it replaced did not seem to have stretched in comparison! Nothing like waisting a lot of time and $ strictly for experience alone!
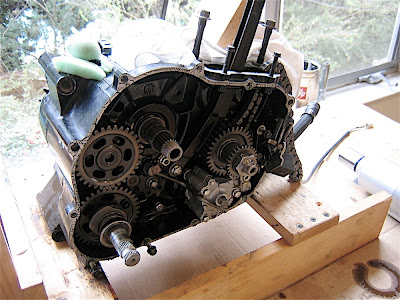
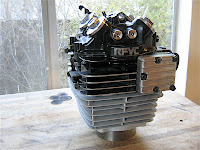
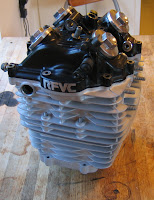
Everything ready for closing up now. One final look before gasket and gasket sealer goop. Opted for the soft cure kind, but in retrospect would have just not used it; nothing wrong with a little oil leaking out there compared to the mess of trying to take that clutch cover off next time around. real men don't use gaskets.
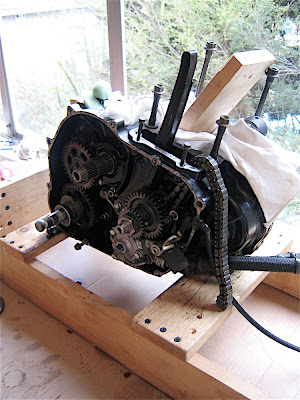
My accomplice chad torquing down the case nuts.

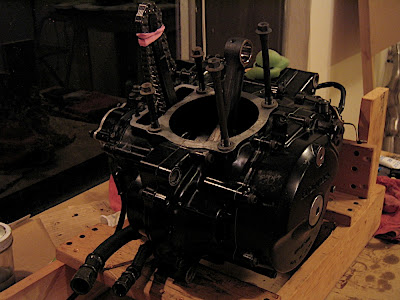
Stator reassembly was pretty uneventful (no gasket goop this time). So here's the whole bottom end, ready to go:
Here, we've got an action shot of gapping the piston rings. Very exciting.

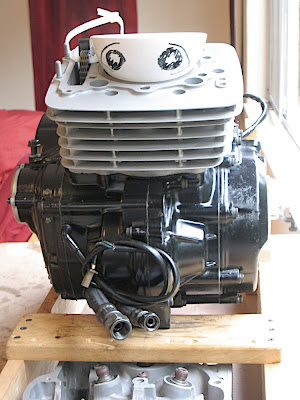
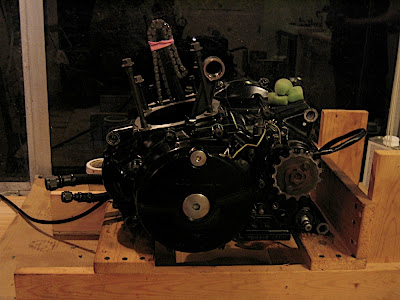
A whole bunch of fussing and worrying later and the jug's onto the bottom end, with 10.5:1 high comp. piston!

Here's where it sits for now until the head is cleaned up enough for reassembly.