Sunday, January 30, 2011

First smoothing plane

First foray into smoothing planes with their steeper blade angles and ability to take fine shavings is this Kakuri wooden body from Lee Valley (USD$36.50)

Click on the photo for the item in their catalog


It is sort of Japanese in that it has a white-oak heartwood body, and you operate by pulling the plane *towards* you as is done with japanese saws. Typically the blade is held in place in the body with a wooden wedge that you tap into place with a hammer. This one uses a chip breaker and a threaded knob to press the blade into place. However, you still perform fine adjustments to the blade depth with small taps to the body. It sounds tricky but it actually works really nicely once you get the hang of it.

First, though, the blade arrived in very poor tune. Not sharp enough to shave with and very out of square

30 minutes of steady work across 50 grit sandpaper on a glass reference surface with my honing jig, and then a quick polishing from my 700 to my 8000 wet-stones, and...


bench surface holding

Finally conjured the strength to drill an array of 3/4" holes through the top of my bench. These holes can then be used by various kinds of appliances to help keep pieces in place. It's very 16th century.


With a spoke shave and a block plane made a few bench dogs that friction fit into the holes. You just tap them with a mallet from underneath to expose them.


One row of 8" spaced holes along the front for the surface vice, and then a row of wider spaced holes along the back for the hold-down


A close up of the hold down by lee valley. The neck fitting into the surface has some toothed ribs to find purchase in the holes.


Hold-down


It really does a nice job and will obviate a lot of rube goldberg clamping machinations that I've gone through to hold material down while dovetailing. Probably also would have spared me a recent trip to the ER for 5 stitches in my thumb a couple weeks ago.


Surface vice

The one disappointment of the day was the surface vice Lee Valley sent me...in concept it's really cool, but I think i got a defective part. The aft support has threads only on 1/2 of the chanel, such that you can turn it counterclockwise to disengage the threads and quickly reposition the vice fore/aft. Once where you want it, you turn the support clockwise to re-engage the threads, and then tighten it up to hold your work. Well, mine doesn't quite engage the threads enough so it jumps out of adjustment without hardly applying any load to the threads...drat

Saturday, January 22, 2011

old salvaged wood, fine grained but muddy, unappreciated

sometimes i like to just look at my stickered wood and dream...this stuff came from my favorite architectural salvage site, Urban Ore located in Emeryville 3 blocks from where I work. Most of my material comes from this place because you can find old old doug fir from demolitions. fine grained, smooth, beautiful wood encrusted in years of rusty nails and neglect. still good and quite amenable to repurposing for the stuff I like to do.

On the left, a few pieces of 4x material that I want to join together for a coffee table. On the right, shelving possibilities. our house is in dire need of some good wall hung shelving...soon


I'm edge joining a few pieces for a coffee table for our living room here. stay tuned to see how it turns out :-)

Monday, January 10, 2011

rehabilitation box

a late holiday pressie for my wife sarah ends in a hastily wrapped project with a cryptic note:


the project began with some african mahogany that i needed to rethickness from 3/4" to some planks roughly 5/16" for a small box project that she can put do-dads in:


joining resawn material like this is called a bookmatch:


I don't usually like the hinge hardware you find on small scale boxes, so I'm looking at different ways to make a hinge from wood. this one bonds the axle to the interior of the lid, then with two holes drilled in the sides, you get a mechanism that can work okay. I first made a small dado in the lid to better accept the axle and prevent it from squggling around during clamp up:
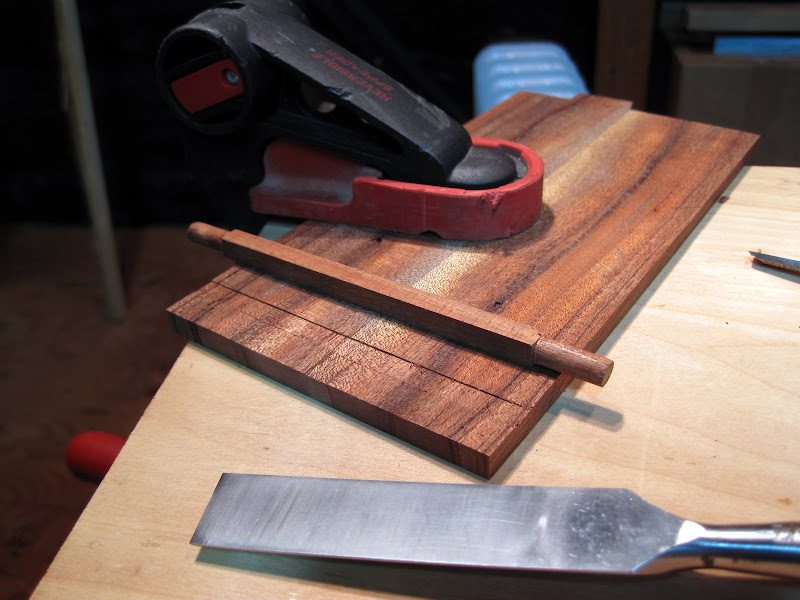
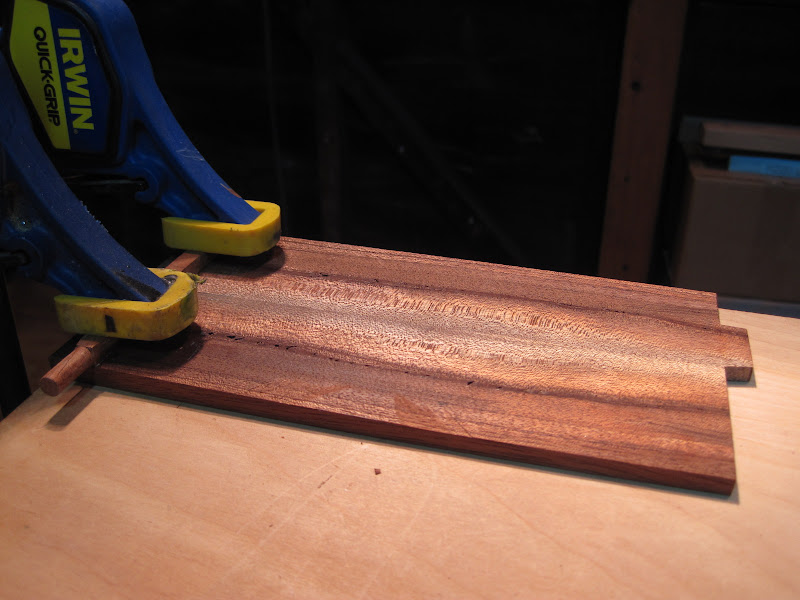


lid detail. I have to relieve the corner in order to rotate inside the box with this hinge design. I did this trimming with a chisel, and preferred to leave the cut marks in place instead of sanding this part smooth


Pre-assembly cross section, just to see how this little thing goes together. The bottom is facing upwards here, and so the idea is to place the lid into the side holes, and then glue it all together at the dovetail pin/tail junctions. Pretty simple


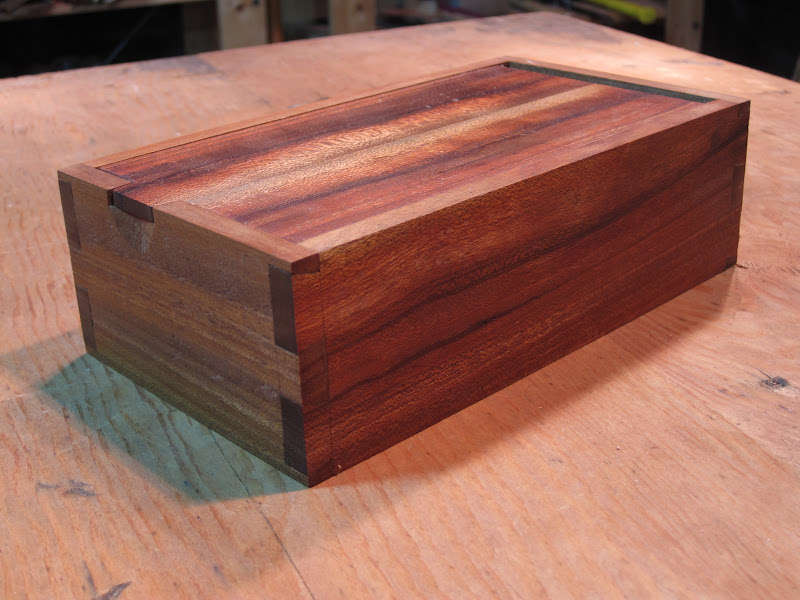
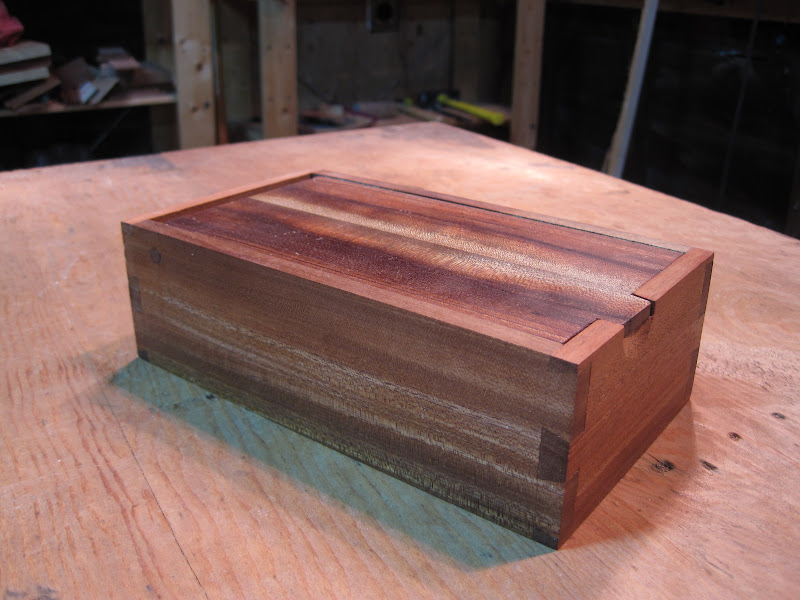
closed and finished. I'm no fan of stains that change wood's intrinsic colors and varnish or thick sticky resins are not my thing either. I use a paste wax. It doesn't really change the color much at all. I find it very sensuous to apply, and it smells like oranges...wonderful.

Here, you can just make out the 1/4" dowel pin where the hinge nests through the side of the box. everything is encased. sure, you loose a bit of storage capacity by my answer to that problem is: make some more boxes!!


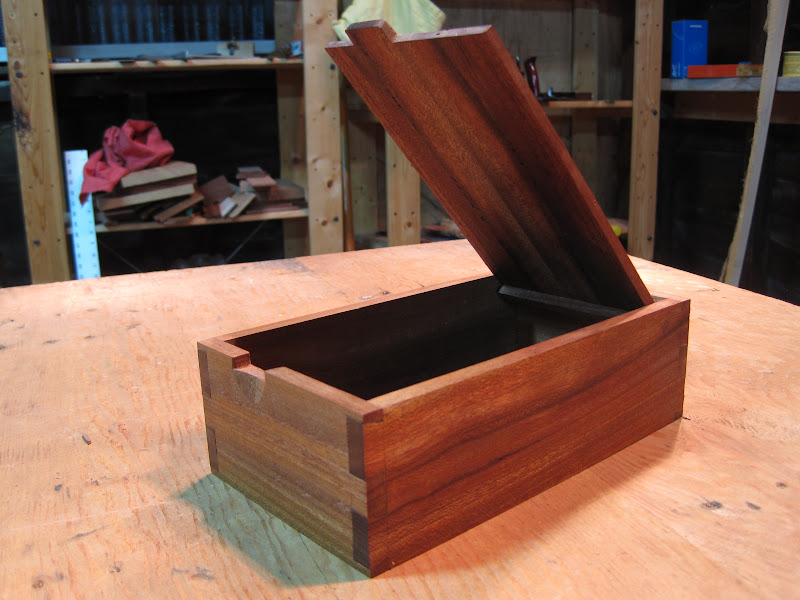
yawning open. Sarah likes the tab for the lid. makes it easy to open. The box is still new and there is a bit of friction in the hinge and the lid sides rub against the inside of the box. I imagine it will loose this friction with use, which is too bad (i like the way it behaves right now)