Sunday, April 27, 2008
another nose job
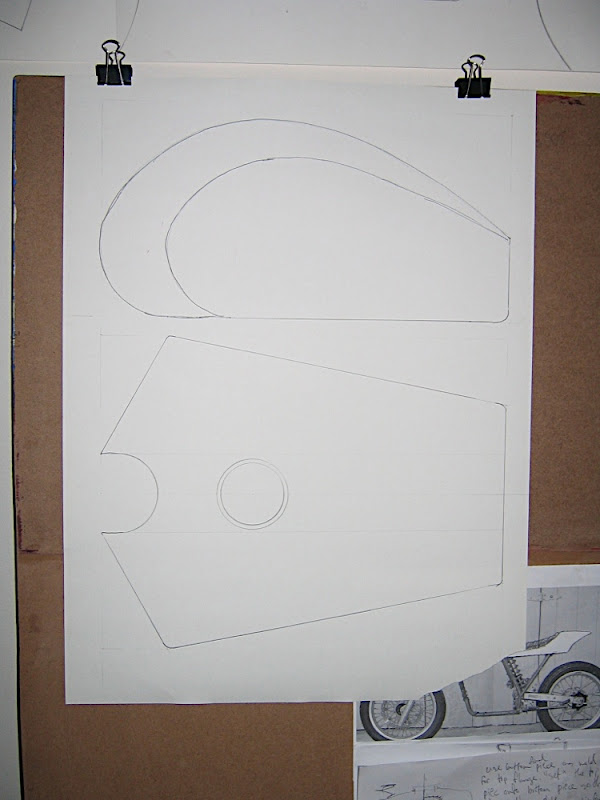
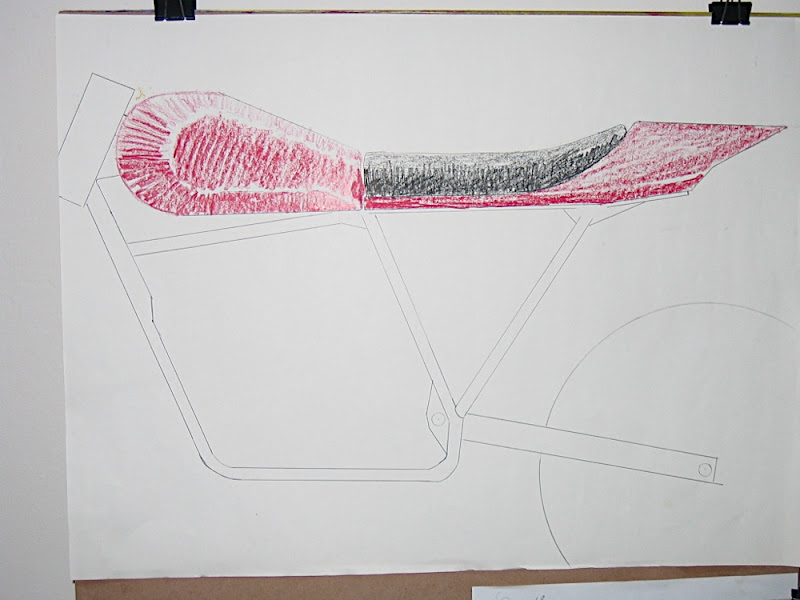
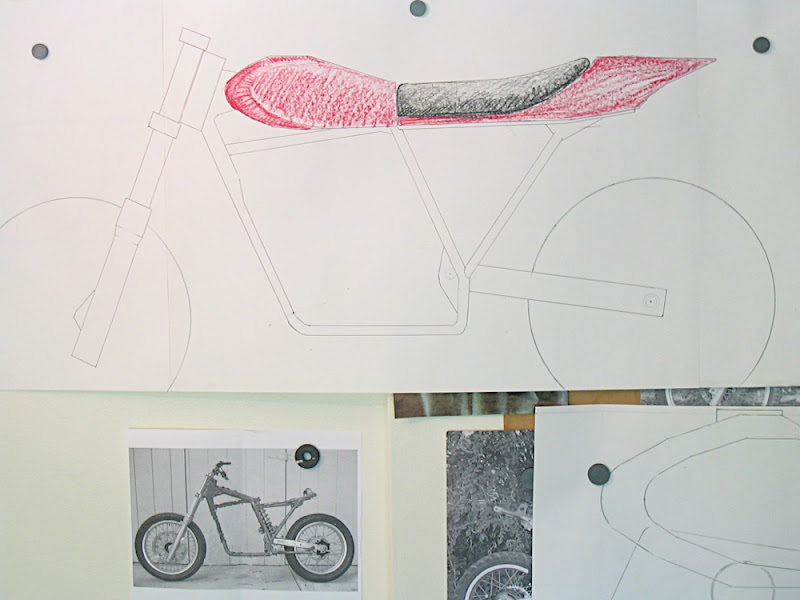
Still trying to sort out the profile of the tank. probably will try something where the upper side is a more shallow curve than the lower. This is closer to what I'm thinking, tho it seems a bit conservative:
Sunday, April 20, 2008
dreaming
Blunt or sharp nose tank. Decisions, decisions...One thing I really disliked about these studies is the junction between the tank and the saddle. It's not something obvious at first but I can see that the vertical line deviating the two pieces does not flow at all with the frame tubing slanting forward from the rear swingarm pivot. whatever the junction made between the saddle and the tank, it should most likely be parallel with that frame tube because it's such a strong line in and of itself (I think)
Saturday, April 12, 2008
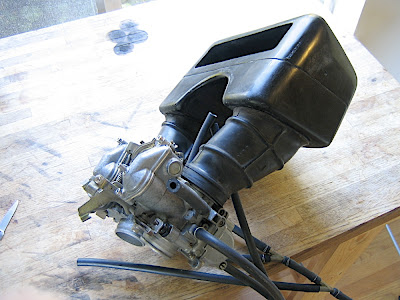
Fitting the airbox
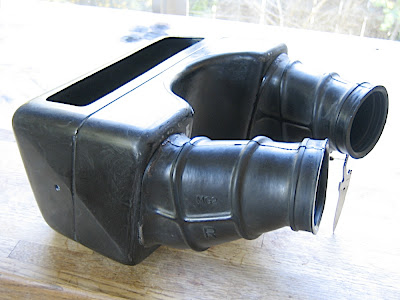
So Banke will need the engine/airbox once we get further along in the process down there. Time to test out attaching the carb rubbers and see how it all goes together. I tried to make the forward half of the airbox a fair approximation of the stocker. Just trace the holes onto the new part with a pencil and cut them out with the Dremel of Fear.
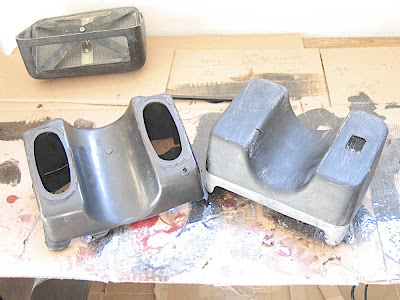
Spent a little more time wet sanding after the holes were cut to get a reasonable finish
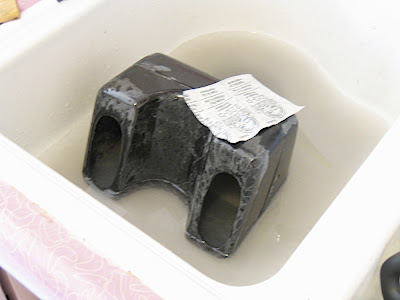
Intake rubbers fit on just fine, look like they'll take a little silicone sealant or the like just fine.
Spent a little more time wet sanding after the holes were cut to get a reasonable finish
Intake rubbers fit on just fine, look like they'll take a little silicone sealant or the like just fine.
Tuesday, April 8, 2008
Banke Status
OK! Ventured down to James Banke's shop this afternoon, and thrilled at seeing the bike up on his table with cuts/welds/grinds in earnest. This is a fun project!
Perhaps the biggest frame revision involves repositioning the top rear triangle rails to be horizontal. This is kind of important to build into the frame because street trackers have a minimal saddle tank configuration that requires any adjoining space be taken up by the frame. Because the bolt securing the top of the monoshock needs room to be backed out for disassembly, we couldn't have both the rails extend directly towards their horizontal position on the frame backbone. James came up with a simple workaround to have one side rail curve downwards at its forward joint so there would be room for the bolt to back out. This asymmetrical configuration to me is REALLY COOL because it's so purposeful and simple. I think it coincides excellently with my plans to fabricate a custom seat pan showcasing this design. It will only add to the overall effect.
Here, in yellow we see where the left side rail will be finished, and the blue lines roughly illustrate where the right side rail will accomodate the shock bolt:

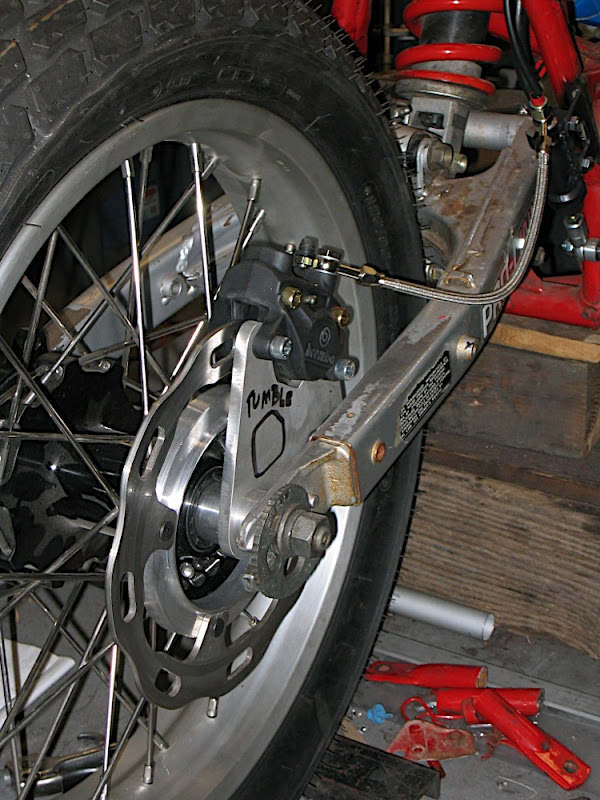
I'm also blown away with how the rear brake has taken shape. The pedal from the existing bike was repurposed to modulate the linkage that drives the Brembo plunger here. This is the sort of creative reuse of old objects for the present that inspires me to be a part of architectural restoration!

Here we see how the rear caliper attaches to it's mounting bracket. The word "Tumble" is written to indicate the type of finish, and we'll do a simple 1" hole in the center of the bracket for aesthetics. Bracket is an aluminum plate that uses the axle as it's main mounting point, and then there's a slot on the other side of the swing arm where it is "Keyed" onto a nubbin much like the drum brake originally was to keep the assembly from spinning when the brake is applied.

Another shot of the rear brake assy.
The other side of the rear hub where there is plenty of angle grinder action evidenced :)

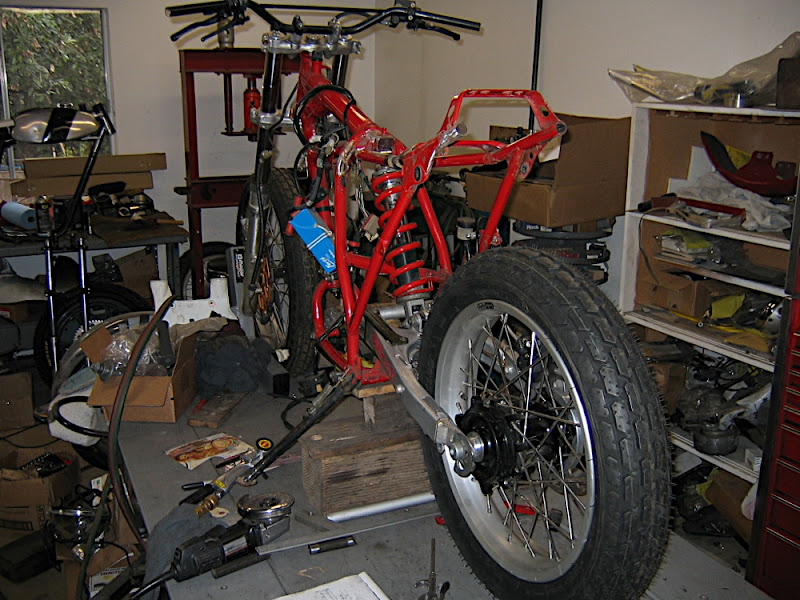
Here's an establishing shot of the 3/4 view. Yes, that's a BSA in the background.
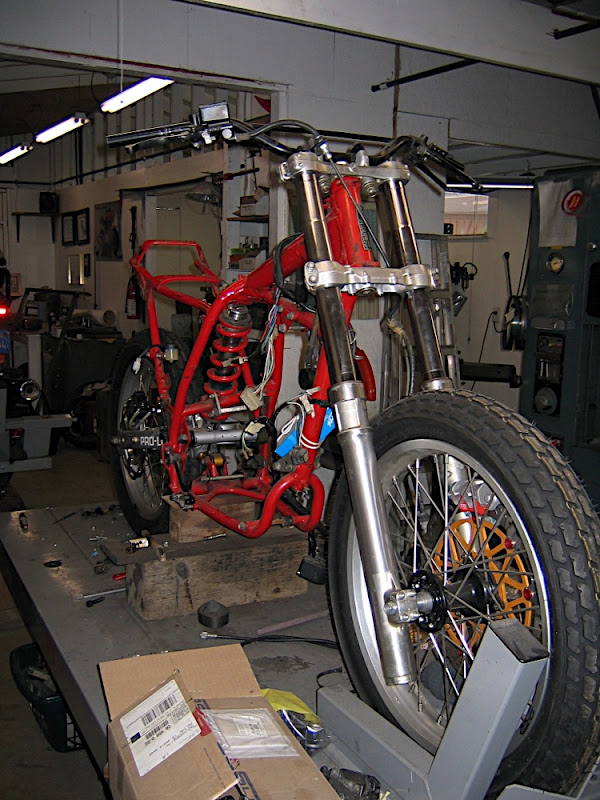
Forks have also been successfully shortened with extra beef and less cheese.

Perhaps the biggest frame revision involves repositioning the top rear triangle rails to be horizontal. This is kind of important to build into the frame because street trackers have a minimal saddle tank configuration that requires any adjoining space be taken up by the frame. Because the bolt securing the top of the monoshock needs room to be backed out for disassembly, we couldn't have both the rails extend directly towards their horizontal position on the frame backbone. James came up with a simple workaround to have one side rail curve downwards at its forward joint so there would be room for the bolt to back out. This asymmetrical configuration to me is REALLY COOL because it's so purposeful and simple. I think it coincides excellently with my plans to fabricate a custom seat pan showcasing this design. It will only add to the overall effect.
Here, in yellow we see where the left side rail will be finished, and the blue lines roughly illustrate where the right side rail will accomodate the shock bolt:
I'm also blown away with how the rear brake has taken shape. The pedal from the existing bike was repurposed to modulate the linkage that drives the Brembo plunger here. This is the sort of creative reuse of old objects for the present that inspires me to be a part of architectural restoration!
Here we see how the rear caliper attaches to it's mounting bracket. The word "Tumble" is written to indicate the type of finish, and we'll do a simple 1" hole in the center of the bracket for aesthetics. Bracket is an aluminum plate that uses the axle as it's main mounting point, and then there's a slot on the other side of the swing arm where it is "Keyed" onto a nubbin much like the drum brake originally was to keep the assembly from spinning when the brake is applied.
Another shot of the rear brake assy.
The other side of the rear hub where there is plenty of angle grinder action evidenced :)
Here's an establishing shot of the 3/4 view. Yes, that's a BSA in the background.
Forks have also been successfully shortened with extra beef and less cheese.
Subscribe to:
Posts
(
Atom
)


