Saturday, August 29, 2015

curved trundlebed headboard surround iii

My next step was to veneer the curved panels. From my experience using cauls to hold down the second layer of 1/4 wig wood ply, it seemed that a different clamping scheme would be required. the cauls I made just never appeared to deliver sufficient pressure at mid span, and no manner of wedging/tightening seemed to deliver this without causing a gap to form elsewhere.

I posed the question to woodcentral.com and the old salts there advised vacuum bagging. This made sense and so I grabbed a vacuum pump and bag assy from joe wood worker's website. I could have spent the time getting my own pump and bag setup done, but this guy's got the entire solution. www.joewoodworker.com

I'll begin with showing where I left off with the panels today, sanded to 180grit.

Here's a dry assembly of the piece
All this wood started from a reclaimed cache of redwood that I found at Earthsource Lumber, harvested from an abandoned water tower in Northern California. Lots of scrub planing and wood picking ensues.
I don't have the pics on hand, but essentially I took the planks at ~8" wide, and planed them on my machine. I then resawed into 1/8" sheets, and then sent these through the planer again to clean up the sawn edge. the final milled thickness was around 3/32", So I had to send these sheets through on a strip of 3/4 plywood. I used masking tape sandwich with hot glue to hold the sheet to the bed. Ben Crowe from Crimson Guitars on a youtube vid demonstrated this technique
Ellis Valentine at WoodCentral.com gave me the tip to use finishing nails like so to gather enough edge pressure to join the bookmatched veneers. The show side is face down here, and I used masking tape to pull the sheets together initially, as is typically done. I then folded along the seam,ran a bead of glue and then returned the edges together. The nails just provide an extra oomph to the clamping.
My ribs were too far spaced to handle the vacuum pressure, so I added extra ribs, at roughly 4,1/2" spacing and this helped prevent the panel from dipping under the vacuum pressure.
ON the short panel, after a few days of being in the hot garage, I noticed a few cracks in the veneer. I don't know why, perhaps I took it out of the bag too soon. The ambient temps were 70-80 degF in the garage and I had it in the bag for almost 6 hours. I filled the cracks with a slury of redwood sawdust and white glue. The long panel has yet to exhibit this problem, although tonight I heard a few audible split sounds in the panel, so i'm not sure where this will end up.
I used UniBond 800 Urea Formaldehyde glue which dries hard, but I don't want to inhale any of that dust while planing/scraping it off the edges.
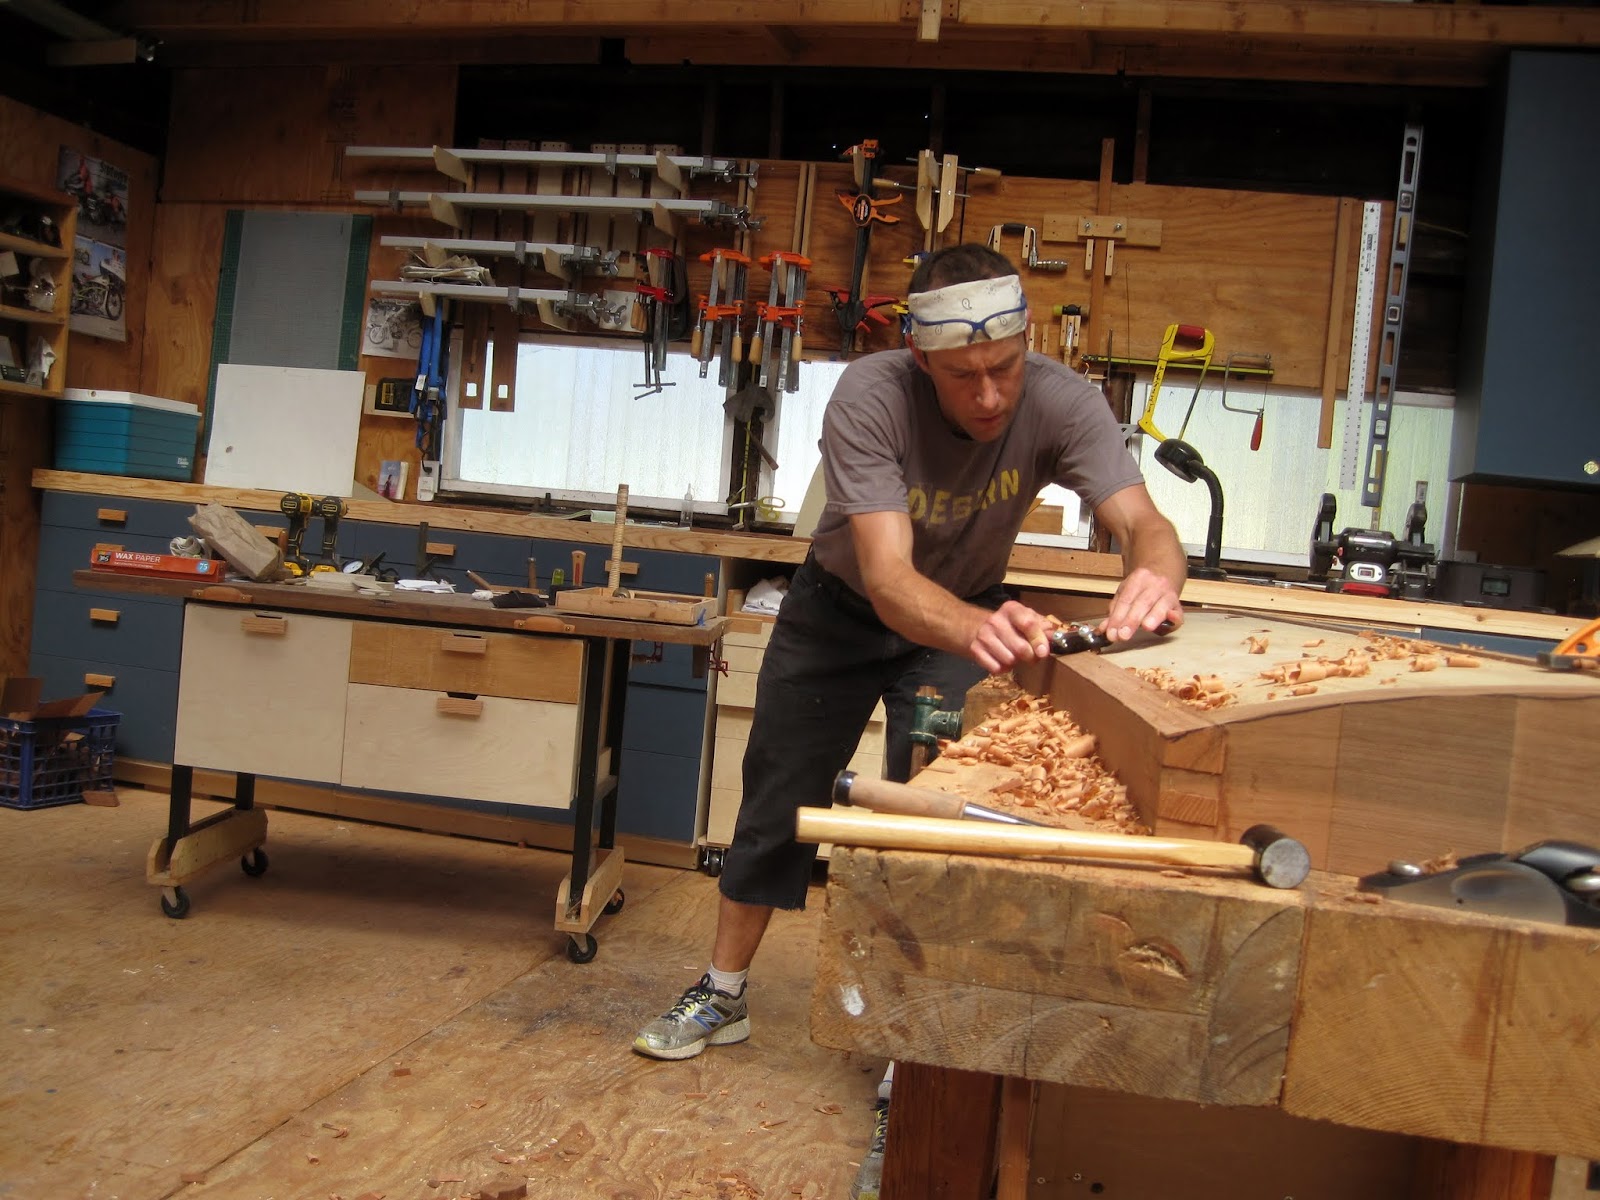
My scraper plane worked magic on the rough sawn side of the bookmatched veneers, before using the palm sander.

Sunday, August 9, 2015

curved trundlebed headboard surround ii

I continue with the headboard panel structure, leaving off here today
I began the weekend by adding a second layer of 1/4" wiggle-wood ply. This time I use glue alone to attach the wood to the substrate below (which was in turn attached to the plywood ribs/longerons via screws and glue). I elected to do this instead of skrews because i wanted to test how I'd apply veneer to the substrate using clamps and cauls, as opposed to some other means, like vacuum bagging. I just don't want to deal with that kind of regalia in my shop right now.

nearly every available short range clamp was recruited for the long panel

Here's a closeup of the cauls used, assembled from 1/4 birch ply scraps, and the offcuts to the rib cross sections
I didn't glue the vertical stiles for the frame/panel assembly so that I could scribe the curved part of the stile in the same plane as where it would finally be attached. Here I get a rough outline traced from my pattern, and then once within an inch of final dimension, I measure the offset into a long strip of thin plywood for a hole that a sharpie marker can fit into. I run this along the inside edge to get the actual location of where I want to make the cut with my dreadful sabre saw. blue tape helps with the line definition.
After some careful trimming, the panel sits close enough to the inside edge of the stile. It's not perfect, but I'm thinking since the panel will be nested inside the frame by 1/16" or so, small gaps like this won't matter so much.
Dry fit with the vertical stile now in place, seems OK
after practice, the other side was closer
Now the fun part, shaping! I"d been looking forward to this for a while! nothing like whipping out the spokeshave for some hot tapering action, baby.

Friday, August 7, 2015

interesting new manual/powered shaping tool integrated with glove

Here is an interesting link I came across on BoingBoing. A design by a fellow named Morten Grønning based on small powered sanders attached to a glove's fingertips. not sure it's my cup of tea but it is an unusual blend of hand tool and power tool...do you think Peter Follansbee would like one as a stocking stuffer for Xmas??? Link: http://boingboing.net/2015/08/06/sculpting-glove-prototype-comb.html

Monday, August 3, 2015

Trundle bed surround headboard, curved

From an earlier post, via 'ketchup, i am attempting a surround back for the corner built-in trundle bed in our guest room:
I begin by making an "L" shaped plywood base that I will in turn veneer with some of the redwood.
The profile and plan view curves are drawn to full scale on my new bench. I will lay out the frame components directly on top of the drawing.
I then focus on the frame components, which are oversized finger jointed pieces made from laminated redwood. I will glue the slanted stiles into place once the interior curve has been cut and faired. but I'll leave the vertical stiles unglued. I did it this way because I want to build the interior panels by scribing them into the inside of the slanted/curved stiles. I will need room to place these curved interior panels inside the frame in order to get the curve just so.

I'm sure this doesn't make any sense. gluing up the finger joints at angles was a colossal bitch. The glue grabbed and I couldn't recover on one of them. I used a bunch of hot-glue gun affixed wedges to allow for clamping, but the hot-glue wasn't durable enough and I probably should have gone with regular wood glue, allowing to cure overnight. This sort of thing should never have been hurried.

With the frames more or less shaped on the interior, I set out making a plywood rib-cage that will then receive 2 layers of 1/4" wiggle wood bendable ply. These skins will then be scribed as best I can into the inside edge of the frame, and then veneered with redwood