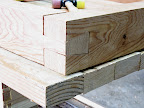
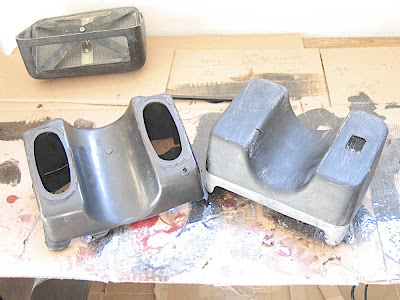
OK, top piece has cured and been demolded/roughly trimmed. Looks like it mates well enough with the bottom piece and with a bit more layup and maybe a bit of epoxy+milled glass fibers in the nooks and crannies, the two pieces form a pretty solid assembly. Just testing the rough pieces right now yields a fairly satisfying fit:
Tuesday, December 23, 2008
Monday, December 22, 2008
initial seatpan glass applied
A few layers of fiberglass later and this is what you see now. Compound corners were fairly tough to cover especially draping over a squared off edge. I always plan out the object to be glassed in facet sheets that approach the edge, but not overlapping it. I then cut strips that run the length of an edge to overlap the facets; it just seems to work out better this way since it's really hard to do both at once.
It also helps to always cut the fabric on a 45deg bias so that each strand is not bending at a full right angle across the edge. Imagine the glass fibers in the cloth moving diagonally across eachother in the ascii schematic below. The horizontal dashes would be the fold line. each strand thus bends a bit less than a full 90 degrees, see?

It also helps to always cut the fabric on a 45deg bias so that each strand is not bending at a full right angle across the edge. Imagine the glass fibers in the cloth moving diagonally across eachother in the ascii schematic below. The horizontal dashes would be the fold line. each strand thus bends a bit less than a full 90 degrees, see?
     \/\/\/
_ _ _/\/\/\_ _ _
     \/\/\/
     /\/\/\
Sunday, December 21, 2008

Saturday, December 20, 2008
le chapeau
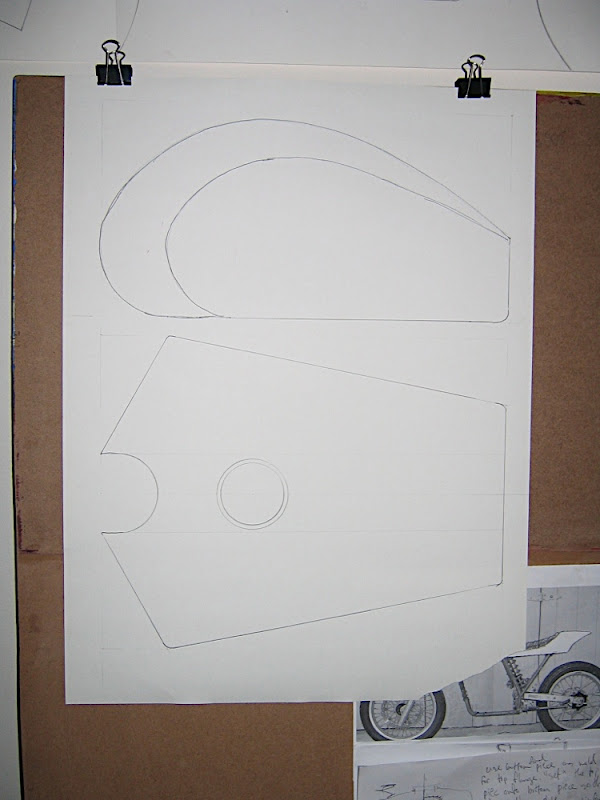
Made a cardboard shell to define the seatpan proper. I'll tape it up to the frame and douse everything in PVA before layering some epoxy/glass on top. This piece can then be epoxied to the seatpan's frame with additional layers of glass to form a hopefully decent assembly!


Monday, December 8, 2008
ten hours later
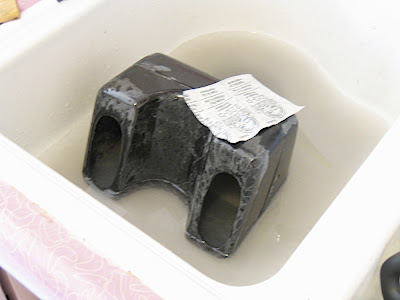
And it's cured well enough to pop out of the form. It'll take a bit of clean up trimming around the edges but it looks promising enough at this point.

Sunday, December 7, 2008
goopy mess
And here's several layers of glass slopped down with black tinted epoxy. Whole layup took 30 minutes or so which is probably 20 too long given that it was the "fast" cure hardener in the mix. The stuff begins to "gel" at a certain point while it's in the mixing pot rather quickly....but since it's cold outside, maybe ~50F, I have the other worry of it never fully curing...temperamental stuff

Saturday, December 6, 2008
seatpan frame
Instead of choosing from any number of perfectly easy, cheap and nicely shaped XR750 style seatpans out there that could probably just bolt onto my frame rails directly, I'm going to make this as tough as possible by rolling my own out of fiberglass/epoxy.
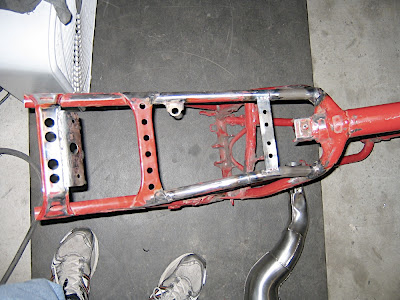
To wit, I'll shape the base of the seatpan directly on the frame rails. Here we see the patient draped with semi-sterile vellum paper (mind the resin in the carbs!). I've wrapped the rails with thick cardboard (~2mm) and what seemed like three rolls of packing tape. This will then get a good soaking of PVA and the glass/resin will go right onto it.
I'm reminded of just how hard it is to work with sticky substances like epoxy, fiberglass and tape. It's a huge pain in the ass and whatever you can do up front to be neat and tidy pays handsomely down the road, when your rubber gloves are sticking together, your pulse is thumping, and you know deep down inside, by the exothermic heat given off from the resin curing in the pot, that in 10 minutes this shit better be done or else it's another reject...now where ARE MY UBER SHARP JAPANESE SCISSORS!!!
Saturday, November 22, 2008


Monday, November 10, 2008
Saturday, November 1, 2008

Friday, October 31, 2008

Monday, October 27, 2008

Tuesday, October 14, 2008
Sunday, September 7, 2008
John Henry's Made It Home!
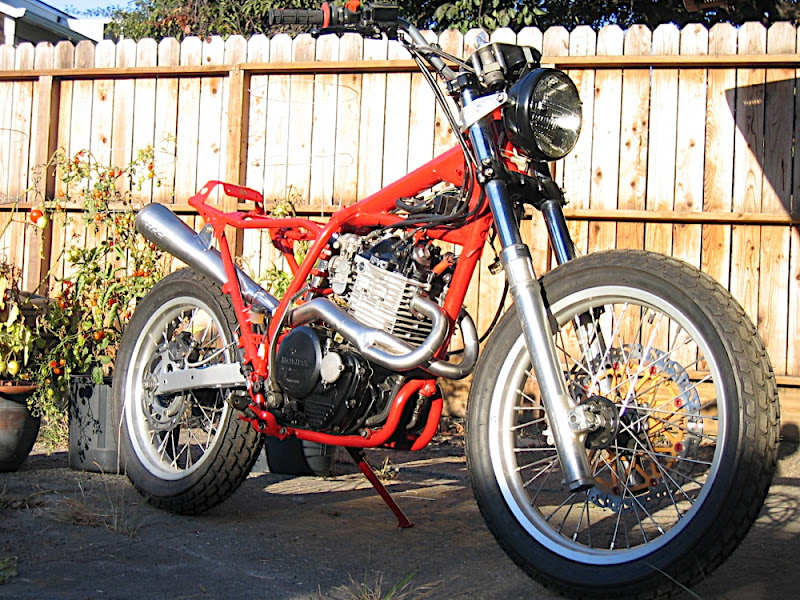
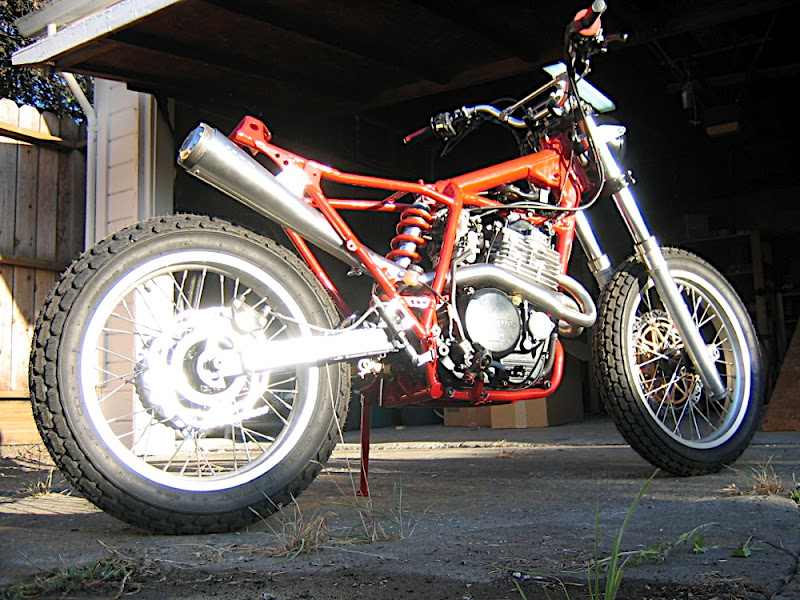
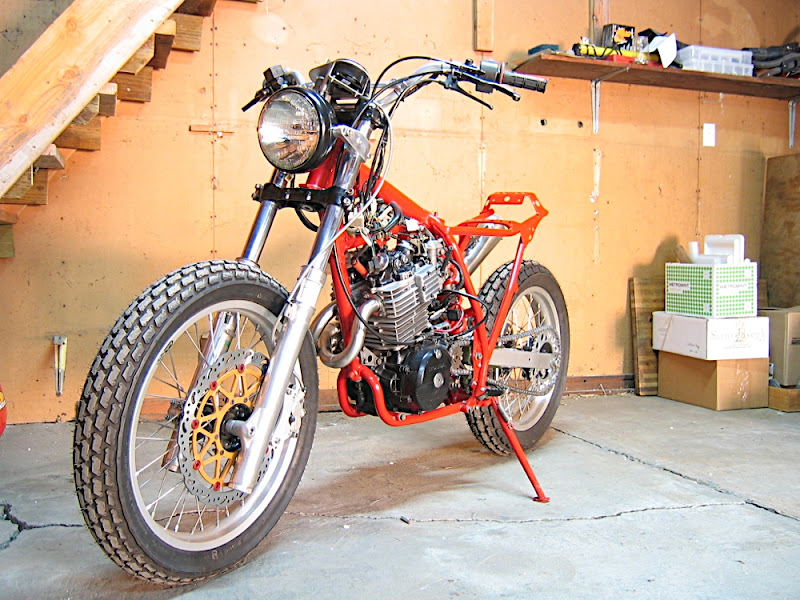
Finally got the bike home from James Banke's shop today!
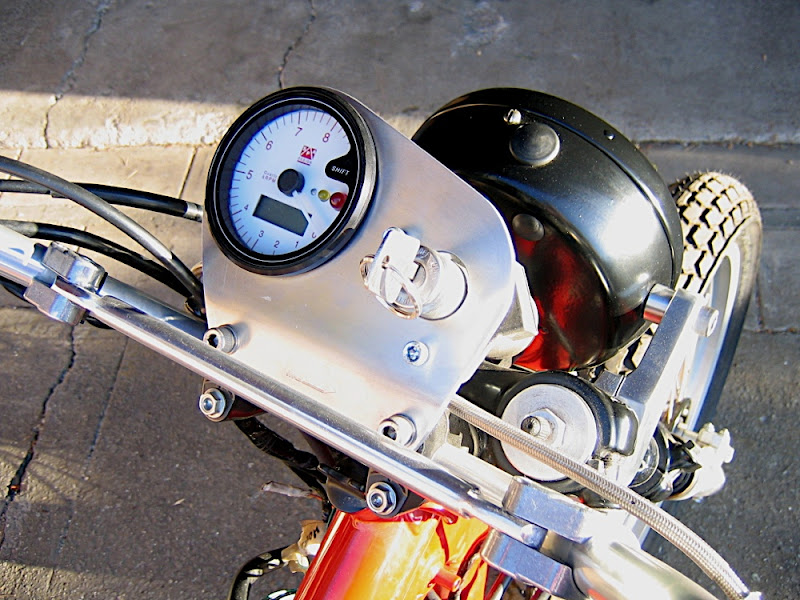
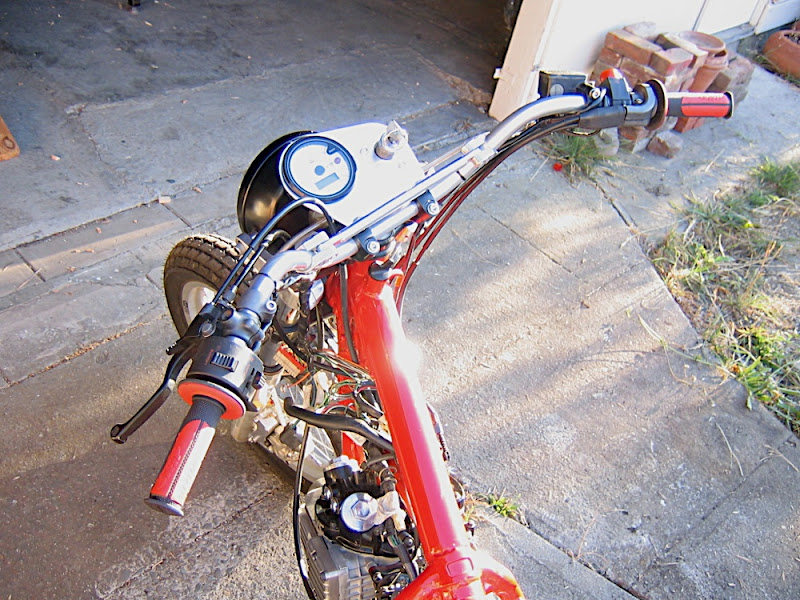
I'm SUPER IMPRESSED with the console he fabbed up for housing the tach, and ignition. As simple as it could be. Headlight bucket is from an old Triumph.
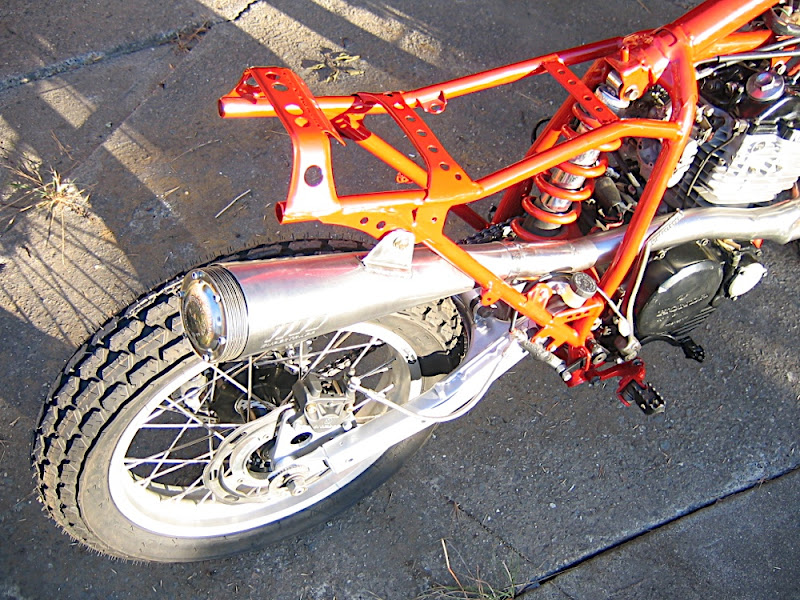
The exhaust megaphone needed a bit of a relief bent into it in order to be far enough away from the rear wheel. It was a difficult thing to design around but I think for the "up" pipe look, JB did a great job and it's going to look really boss.
Here's another view of the exhaust megaphone adaption...another view of the tab he welded onto the assembly at just the right angle to fit onto the frame...lotta work getting that done just so, i bet.
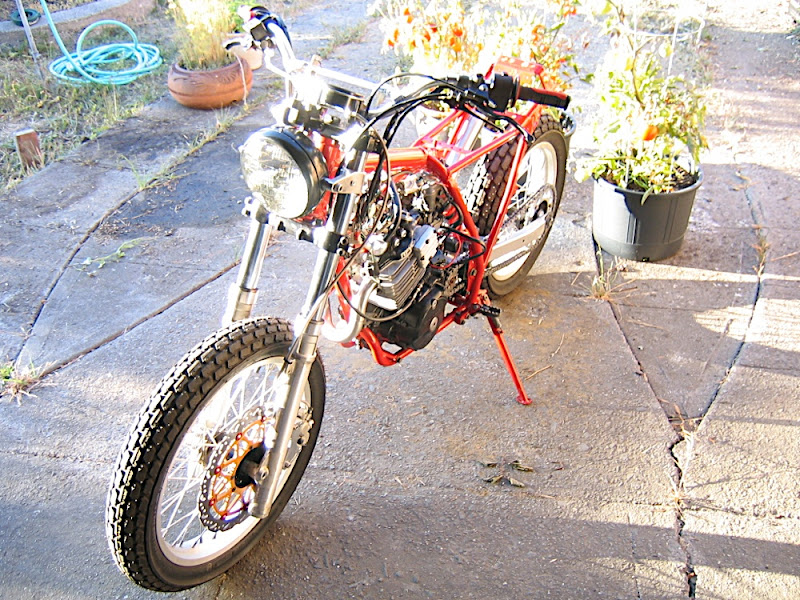

Another profile, JB machined up the headlight mounts, the pictures don't do it justice. That's a 320mm twin piston Brembo front stopper: It will stop.
Here's where we'll be in drydock while I get all the body work finished.
I'm SUPER IMPRESSED with the console he fabbed up for housing the tach, and ignition. As simple as it could be. Headlight bucket is from an old Triumph.
The exhaust megaphone needed a bit of a relief bent into it in order to be far enough away from the rear wheel. It was a difficult thing to design around but I think for the "up" pipe look, JB did a great job and it's going to look really boss.
Here's another view of the exhaust megaphone adaption...another view of the tab he welded onto the assembly at just the right angle to fit onto the frame...lotta work getting that done just so, i bet.
Another profile, JB machined up the headlight mounts, the pictures don't do it justice. That's a 320mm twin piston Brembo front stopper: It will stop.
Here's where we'll be in drydock while I get all the body work finished.
Tuesday, August 26, 2008
Saturday, August 23, 2008
Latest Profile Edit
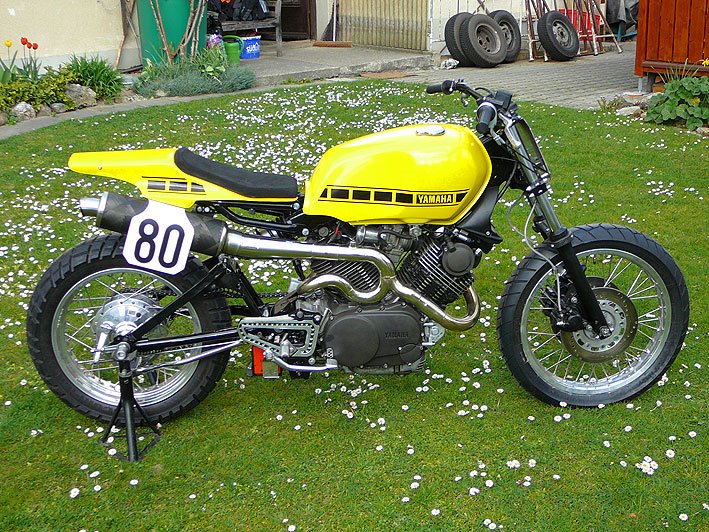
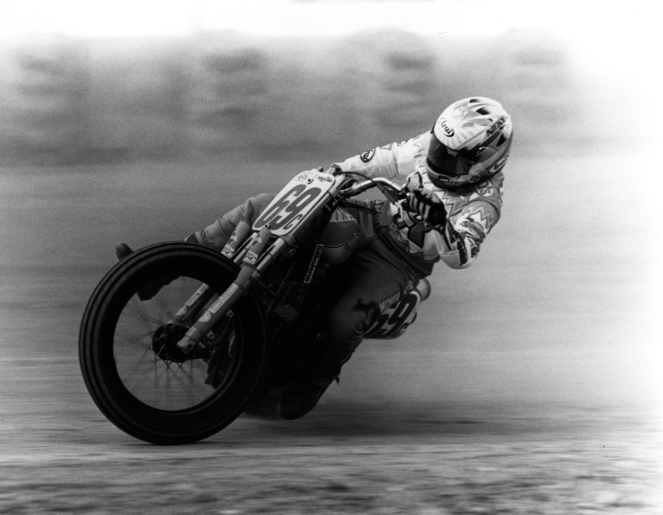
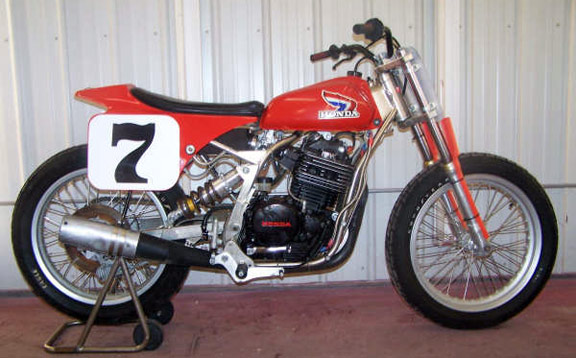
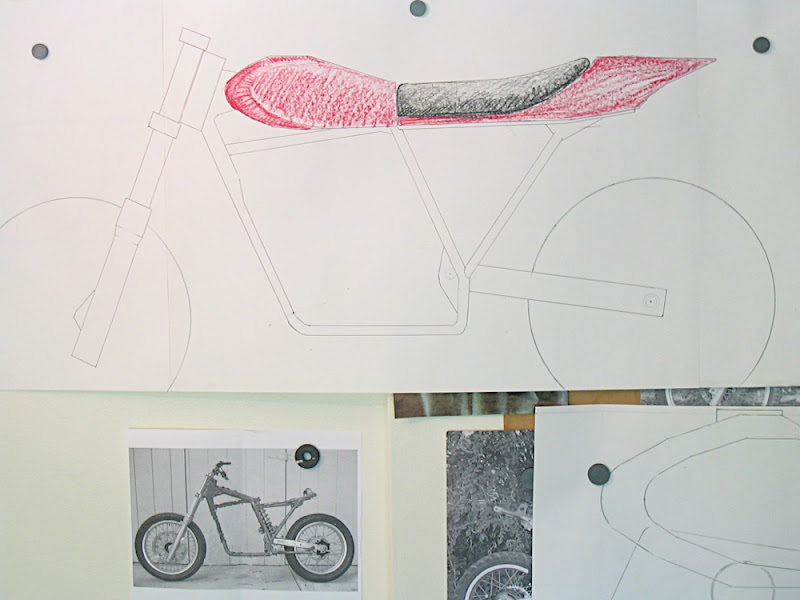
Really like the flow of the saddle onto the tank on the Honda FTRs below and am thinking the saddle needs to wrap around the tank a bit in defiance to the flat tracker's typical butting saddle/tank junction. FTRs seem a bit less cobbled together than the Ascots did:


This will of course be a mondo bitch to upholster, but then again, what isn't sheer tedium when it comes to fabricating the bodywork on a moto?
This will of course be a mondo bitch to upholster, but then again, what isn't sheer tedium when it comes to fabricating the bodywork on a moto?
Thursday, July 3, 2008


Tuesday, July 1, 2008
Frame Done!!!
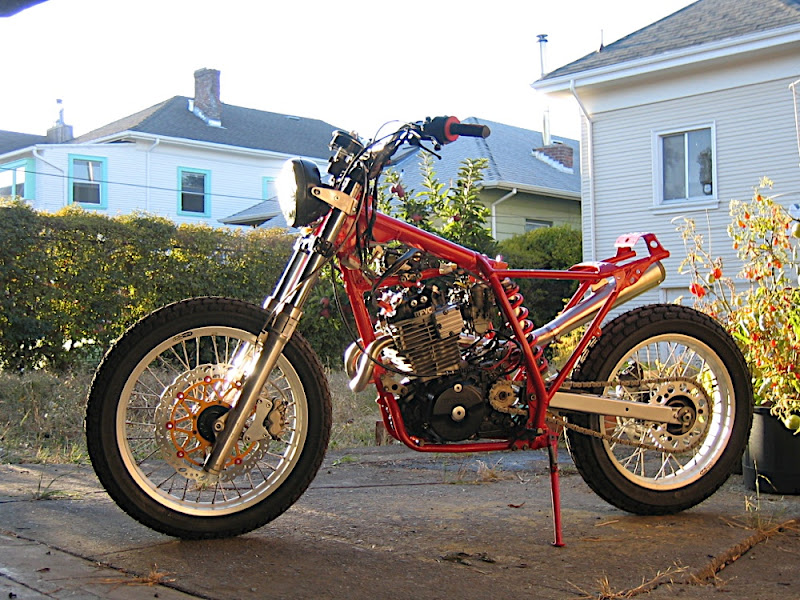
Huge milestone reached with the frame done and engine cradled therein. James Banke got it painted and ready. The exhaust is of course only there for reference and IN NO WAY will represent what the final product will be.

Sunday, June 8, 2008
frame review
Took one final look at the frame before powdercoating down at Banke Performance yesterday. Here you can see how the frame rails were reattached for a more horizontal position with the swept down right side for shock pin accessibility.

The distal end of the XR's only Exhaust pipe is absolutely hopelessly not going to work. Too long, too wide in the tire's way. The header will be fine, but Banke will have to come up with some sort of muffler and adapt to it. alack.
Banke's powder coater guy is some curmudgeon who won't do anything unless you select a chip from his special samples box though my colorblindness should preclude such fussiness.
Sunday, April 27, 2008
another nose job
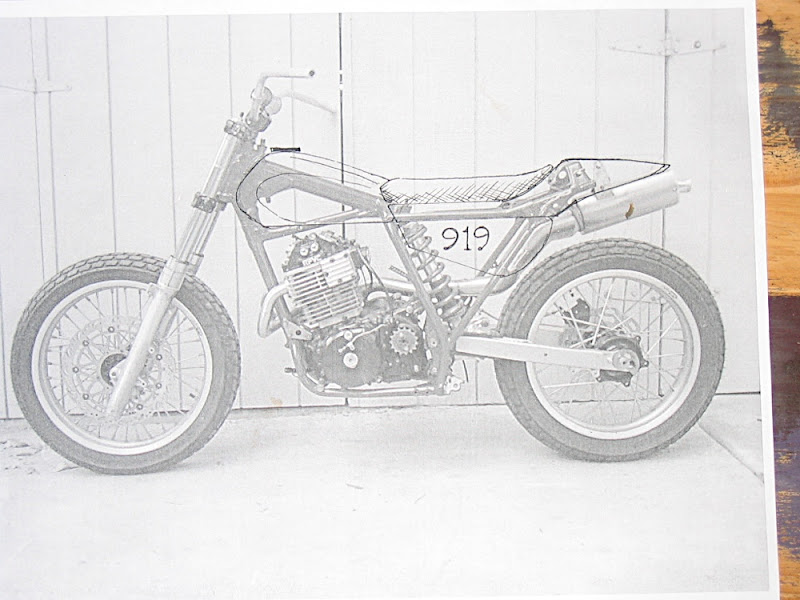
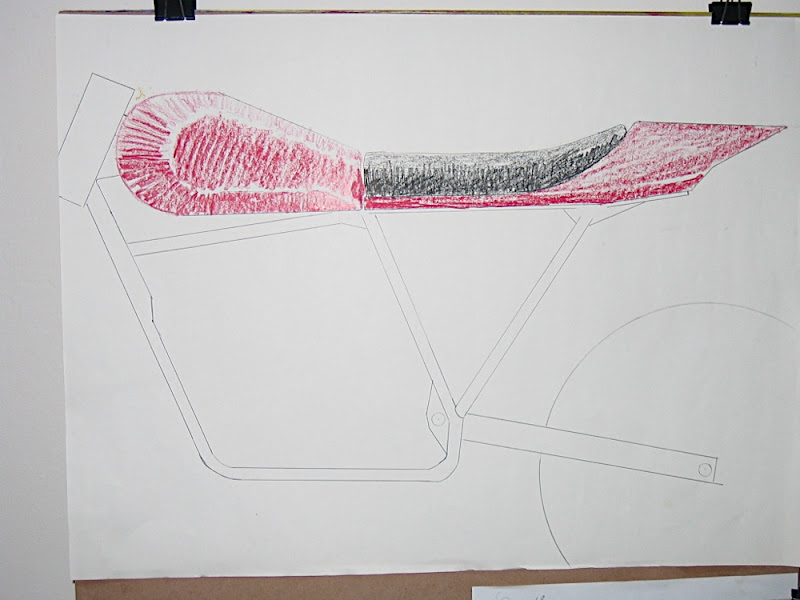
Still trying to sort out the profile of the tank. probably will try something where the upper side is a more shallow curve than the lower. This is closer to what I'm thinking, tho it seems a bit conservative:
Sunday, April 20, 2008
dreaming
Blunt or sharp nose tank. Decisions, decisions...One thing I really disliked about these studies is the junction between the tank and the saddle. It's not something obvious at first but I can see that the vertical line deviating the two pieces does not flow at all with the frame tubing slanting forward from the rear swingarm pivot. whatever the junction made between the saddle and the tank, it should most likely be parallel with that frame tube because it's such a strong line in and of itself (I think)
Saturday, April 12, 2008
Fitting the airbox
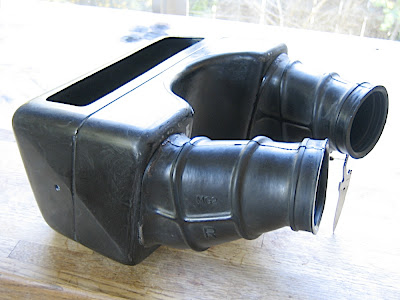
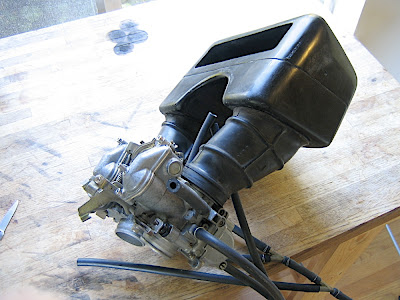
So Banke will need the engine/airbox once we get further along in the process down there. Time to test out attaching the carb rubbers and see how it all goes together. I tried to make the forward half of the airbox a fair approximation of the stocker. Just trace the holes onto the new part with a pencil and cut them out with the Dremel of Fear.
Spent a little more time wet sanding after the holes were cut to get a reasonable finish
Intake rubbers fit on just fine, look like they'll take a little silicone sealant or the like just fine.
Spent a little more time wet sanding after the holes were cut to get a reasonable finish
Intake rubbers fit on just fine, look like they'll take a little silicone sealant or the like just fine.
Tuesday, April 8, 2008
Banke Status
OK! Ventured down to James Banke's shop this afternoon, and thrilled at seeing the bike up on his table with cuts/welds/grinds in earnest. This is a fun project!
Perhaps the biggest frame revision involves repositioning the top rear triangle rails to be horizontal. This is kind of important to build into the frame because street trackers have a minimal saddle tank configuration that requires any adjoining space be taken up by the frame. Because the bolt securing the top of the monoshock needs room to be backed out for disassembly, we couldn't have both the rails extend directly towards their horizontal position on the frame backbone. James came up with a simple workaround to have one side rail curve downwards at its forward joint so there would be room for the bolt to back out. This asymmetrical configuration to me is REALLY COOL because it's so purposeful and simple. I think it coincides excellently with my plans to fabricate a custom seat pan showcasing this design. It will only add to the overall effect.
Here, in yellow we see where the left side rail will be finished, and the blue lines roughly illustrate where the right side rail will accomodate the shock bolt:

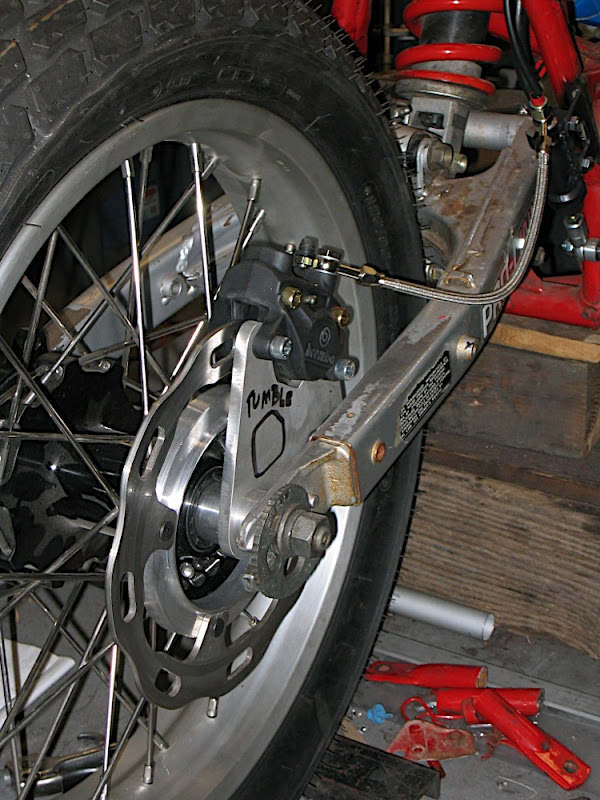
I'm also blown away with how the rear brake has taken shape. The pedal from the existing bike was repurposed to modulate the linkage that drives the Brembo plunger here. This is the sort of creative reuse of old objects for the present that inspires me to be a part of architectural restoration!

Here we see how the rear caliper attaches to it's mounting bracket. The word "Tumble" is written to indicate the type of finish, and we'll do a simple 1" hole in the center of the bracket for aesthetics. Bracket is an aluminum plate that uses the axle as it's main mounting point, and then there's a slot on the other side of the swing arm where it is "Keyed" onto a nubbin much like the drum brake originally was to keep the assembly from spinning when the brake is applied.

Another shot of the rear brake assy.
The other side of the rear hub where there is plenty of angle grinder action evidenced :)

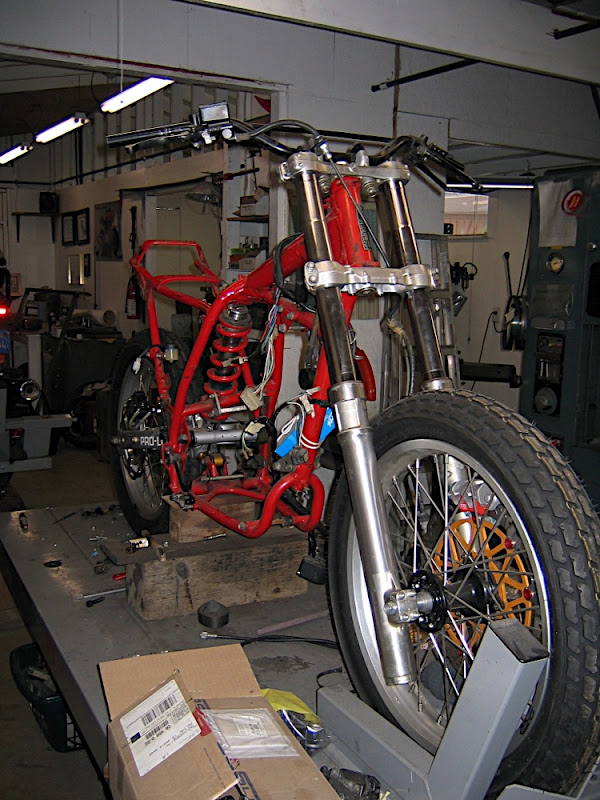
Here's an establishing shot of the 3/4 view. Yes, that's a BSA in the background.
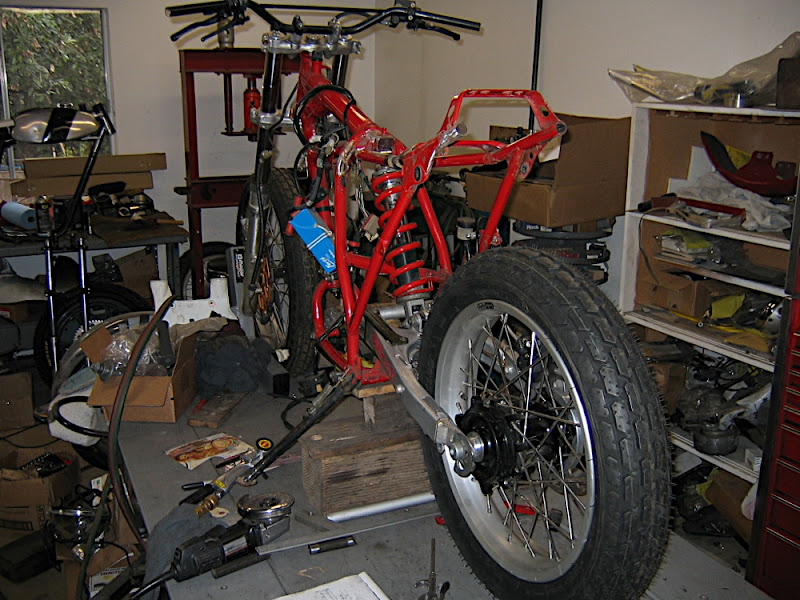
Forks have also been successfully shortened with extra beef and less cheese.

Perhaps the biggest frame revision involves repositioning the top rear triangle rails to be horizontal. This is kind of important to build into the frame because street trackers have a minimal saddle tank configuration that requires any adjoining space be taken up by the frame. Because the bolt securing the top of the monoshock needs room to be backed out for disassembly, we couldn't have both the rails extend directly towards their horizontal position on the frame backbone. James came up with a simple workaround to have one side rail curve downwards at its forward joint so there would be room for the bolt to back out. This asymmetrical configuration to me is REALLY COOL because it's so purposeful and simple. I think it coincides excellently with my plans to fabricate a custom seat pan showcasing this design. It will only add to the overall effect.
Here, in yellow we see where the left side rail will be finished, and the blue lines roughly illustrate where the right side rail will accomodate the shock bolt:
I'm also blown away with how the rear brake has taken shape. The pedal from the existing bike was repurposed to modulate the linkage that drives the Brembo plunger here. This is the sort of creative reuse of old objects for the present that inspires me to be a part of architectural restoration!
Here we see how the rear caliper attaches to it's mounting bracket. The word "Tumble" is written to indicate the type of finish, and we'll do a simple 1" hole in the center of the bracket for aesthetics. Bracket is an aluminum plate that uses the axle as it's main mounting point, and then there's a slot on the other side of the swing arm where it is "Keyed" onto a nubbin much like the drum brake originally was to keep the assembly from spinning when the brake is applied.
Another shot of the rear brake assy.
The other side of the rear hub where there is plenty of angle grinder action evidenced :)
Here's an establishing shot of the 3/4 view. Yes, that's a BSA in the background.
Forks have also been successfully shortened with extra beef and less cheese.
Subscribe to:
Posts
(
Atom
)


