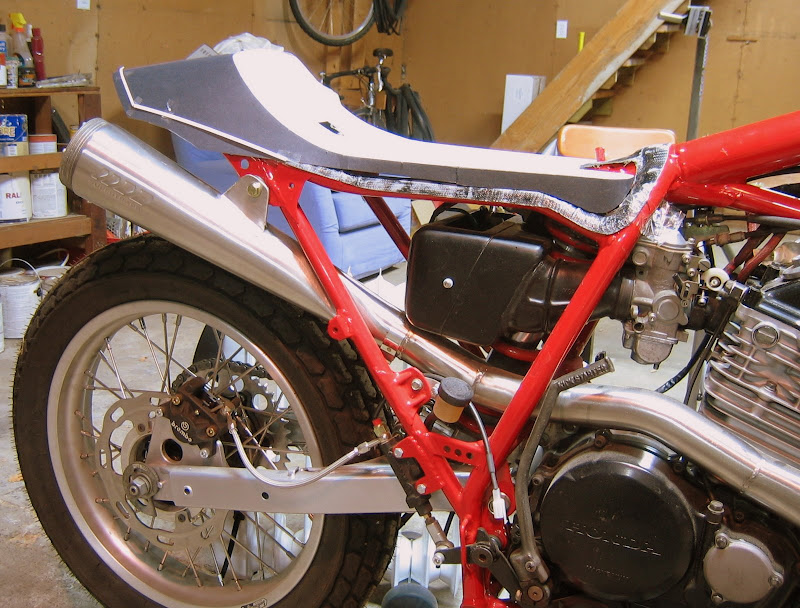
OK, top piece has cured and been demolded/roughly trimmed. Looks like it mates well enough with the bottom piece and with a bit more layup and maybe a bit of epoxy+milled glass fibers in the nooks and crannies, the two pieces form a pretty solid assembly. Just testing the rough pieces right now yields a fairly satisfying fit:
Tuesday, December 23, 2008
Monday, December 22, 2008
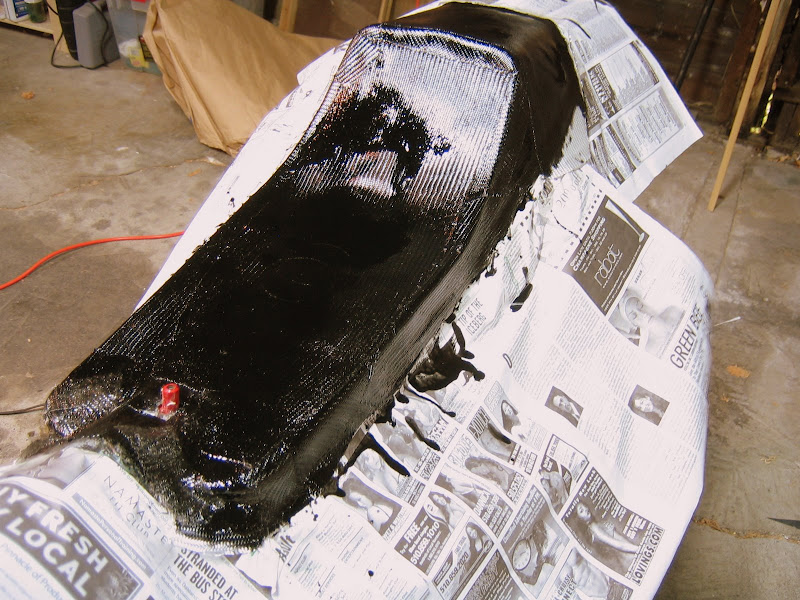
initial seatpan glass applied
A few layers of fiberglass later and this is what you see now. Compound corners were fairly tough to cover especially draping over a squared off edge. I always plan out the object to be glassed in facet sheets that approach the edge, but not overlapping it. I then cut strips that run the length of an edge to overlap the facets; it just seems to work out better this way since it's really hard to do both at once.
It also helps to always cut the fabric on a 45deg bias so that each strand is not bending at a full right angle across the edge. Imagine the glass fibers in the cloth moving diagonally across eachother in the ascii schematic below. The horizontal dashes would be the fold line. each strand thus bends a bit less than a full 90 degrees, see?
It also helps to always cut the fabric on a 45deg bias so that each strand is not bending at a full right angle across the edge. Imagine the glass fibers in the cloth moving diagonally across eachother in the ascii schematic below. The horizontal dashes would be the fold line. each strand thus bends a bit less than a full 90 degrees, see?
     \/\/\/
_ _ _/\/\/\_ _ _
     \/\/\/
     /\/\/\
Sunday, December 21, 2008
Saturday, December 20, 2008
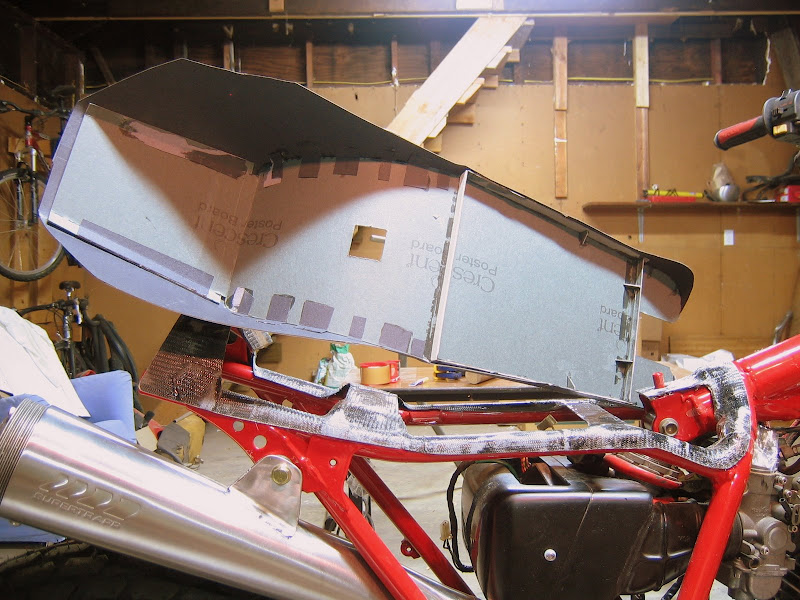
le chapeau
Made a cardboard shell to define the seatpan proper. I'll tape it up to the frame and douse everything in PVA before layering some epoxy/glass on top. This piece can then be epoxied to the seatpan's frame with additional layers of glass to form a hopefully decent assembly!
Monday, December 8, 2008
ten hours later
And it's cured well enough to pop out of the form. It'll take a bit of clean up trimming around the edges but it looks promising enough at this point.
Sunday, December 7, 2008
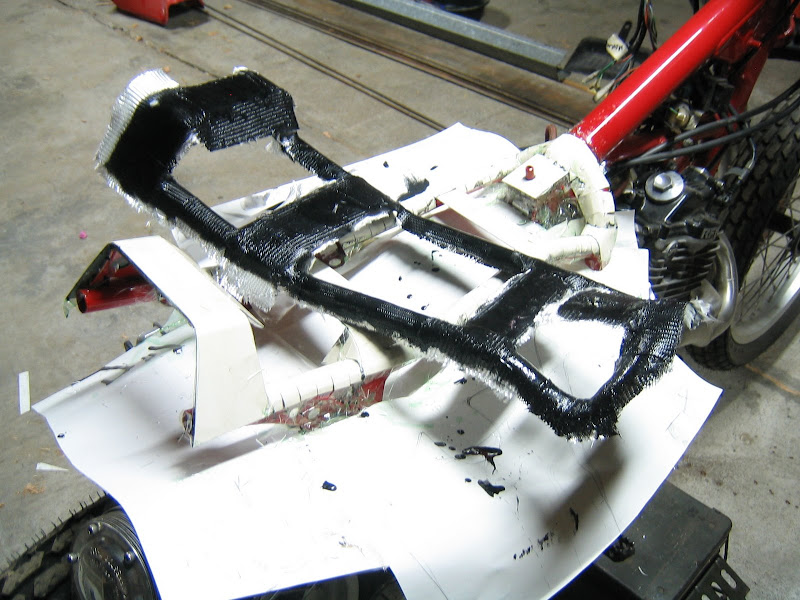
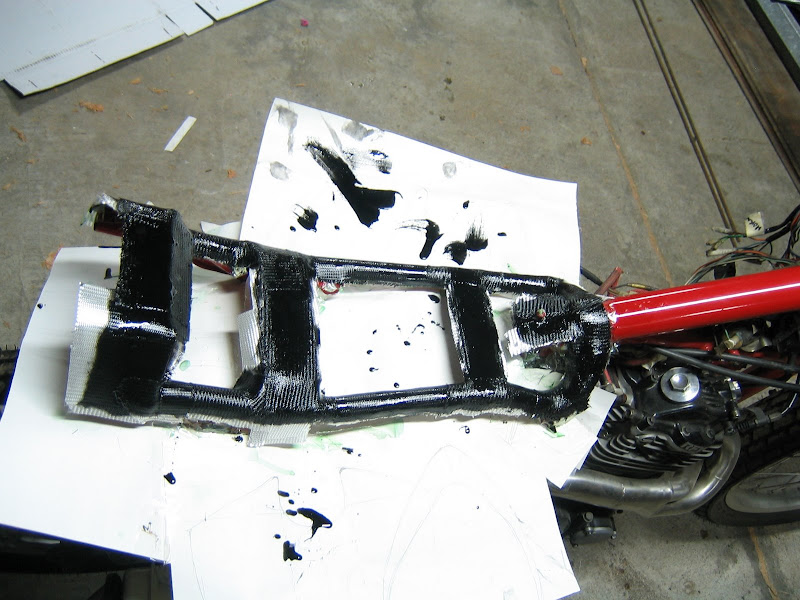
goopy mess
And here's several layers of glass slopped down with black tinted epoxy. Whole layup took 30 minutes or so which is probably 20 too long given that it was the "fast" cure hardener in the mix. The stuff begins to "gel" at a certain point while it's in the mixing pot rather quickly....but since it's cold outside, maybe ~50F, I have the other worry of it never fully curing...temperamental stuff
Saturday, December 6, 2008
seatpan frame
Instead of choosing from any number of perfectly easy, cheap and nicely shaped XR750 style seatpans out there that could probably just bolt onto my frame rails directly, I'm going to make this as tough as possible by rolling my own out of fiberglass/epoxy.
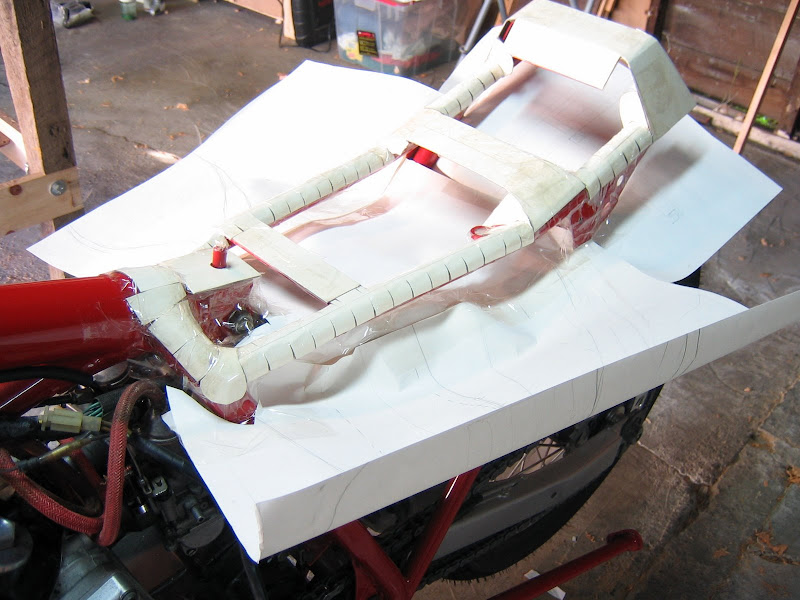
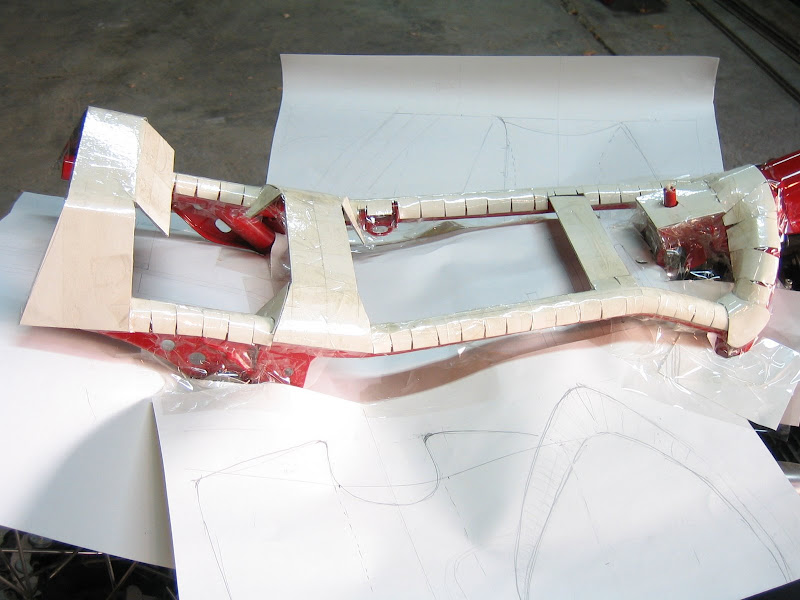
To wit, I'll shape the base of the seatpan directly on the frame rails. Here we see the patient draped with semi-sterile vellum paper (mind the resin in the carbs!). I've wrapped the rails with thick cardboard (~2mm) and what seemed like three rolls of packing tape. This will then get a good soaking of PVA and the glass/resin will go right onto it.
I'm reminded of just how hard it is to work with sticky substances like epoxy, fiberglass and tape. It's a huge pain in the ass and whatever you can do up front to be neat and tidy pays handsomely down the road, when your rubber gloves are sticking together, your pulse is thumping, and you know deep down inside, by the exothermic heat given off from the resin curing in the pot, that in 10 minutes this shit better be done or else it's another reject...now where ARE MY UBER SHARP JAPANESE SCISSORS!!!
Subscribe to:
Posts
(
Atom
)

