Earthsource Lumber in west Oakland had a *this much* flatsawn 4/4 sapele, warped and wowed. Sad to hear they will be going out of business next month. THey were an oasis of magnificent odd lot timber, just down Addeline street from me.
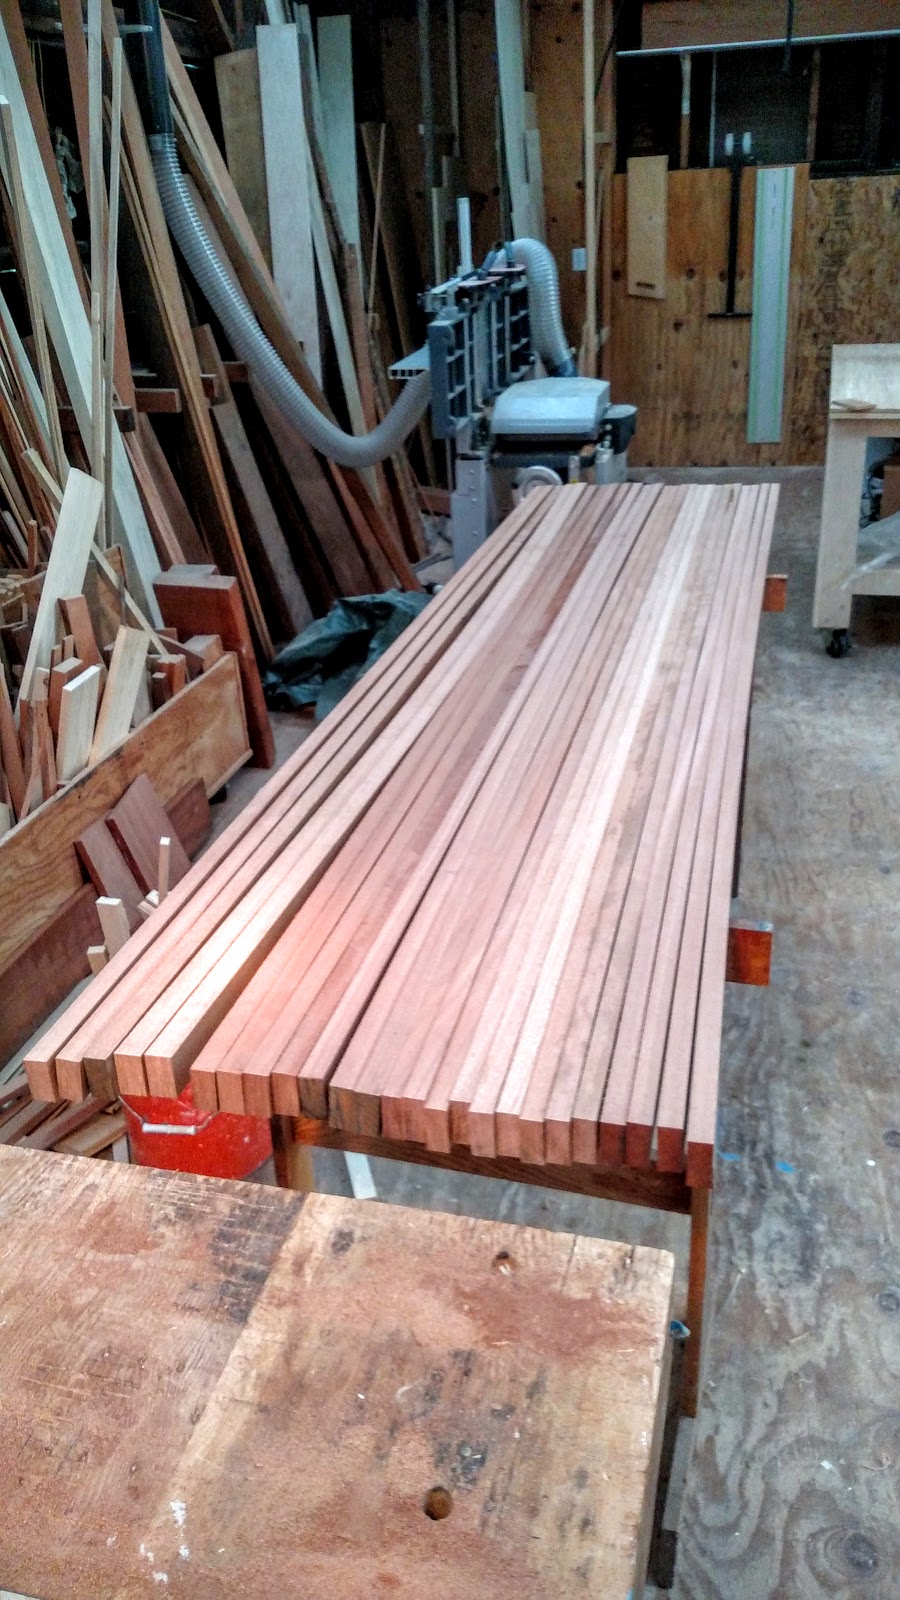
well i needed to make a kitchen island countertop, roughly 8' long and 2' deep, supported by two lower cabinet bases. The idea would be similar to how i made the passthrough countertop for the kitchen/dining room threshold. Take the flatsawn, rip to 1,7/8" wide strips, laminate, breadboard end, presto.
I make sure each board is ripped and laminated sequentially so that the grain on the side looks consistent. You end up with swooshes consistent with one another this way
I did a multi-stage lamination for a couple reasons. First to avoid the glue skinning over by the time i would have taken to glue up the entire piece. But also because I wanted to joint/plane each component board in my 12" capacity jointer/planer. once the pieces were thicknessed, I did a final glue-up of the two sides for the final assembly.
I neglected to show the joinery going on here, but it's a garden variety breadboard end, with a stub tenon going the entire width, and 3 1,1/2" tongues going deeper into the end so that they can accept a draw-bore peg.
I used a scraper plane and a card scraper to smooth most the tear-out from my planer. I also used a ROS using 100grit followed by 120grit.
Finish is called "THe Good Stuff", which is a food friendly wood countertop preparation. It feels pretty tough and builds nicely. 3 coats is all i want.
Imagine this slab being placed on the two lower cabinet units in the middle of the floor here