Readying everything for the part layup. It's a lot of messing around with six layers of glass cut into facets, then peel ply, then breather cloth. Oh, and a vacuum bag that'll hold the goopy mess once it's ready for curing!

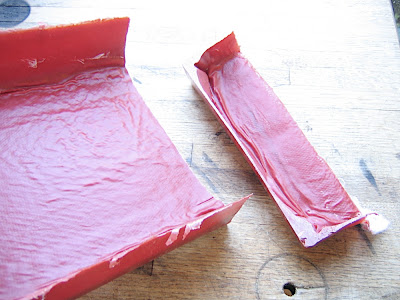
Here we see the layup in progress. I'm experimenting with pigmenting the resin so that I don't have to bother with painting (the fumes would overpower the shroomy mellow of my petite domecile). This isn't quite orange enough for the Honda flash red that I like:

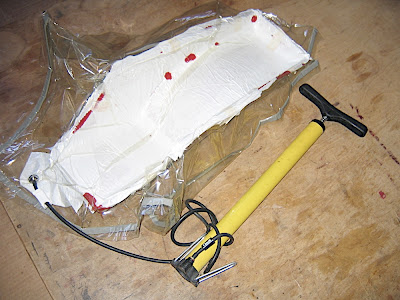
I wrote a neurotic little passage on Instructables.com on how I do the bagging stuff. So far this assembly is holding it's pressure, so that's good. Just hope the resin cures:
And here's the raw piece, ejected from the mold. Has a few boogers where the PVA dripped on the mold, but no big deal for a prototype.
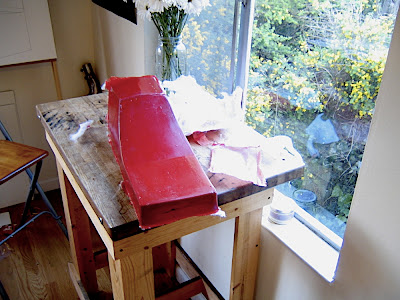
My main concern for this exercise was voids in the layup. This particular run had a lot of epoxy+milled glass fiber smeared in the corners to help fill in these areas that are typically hard to cover well with cloth and resin alone. I added too much, tho, and you can see how the peel-ply left a bit of a crease in the corner from smooshing the resin slurry to either side. Less next time?