With a kitchen and bathroom remodel, plus some other built-in work for the house, I wanted to come up with a drawer pull that I could make in batches with some help from my machines. at the same time, i wanted a pull that would not look too machine-made with right angles and square ends. I wanted it to be curved and be nice to reach for and easy to use. Drawer pulls are extremely difficult for me for some reason. Most of my attempts in the past have felt clunky, looked awkward. Hands are complicated, picky things!
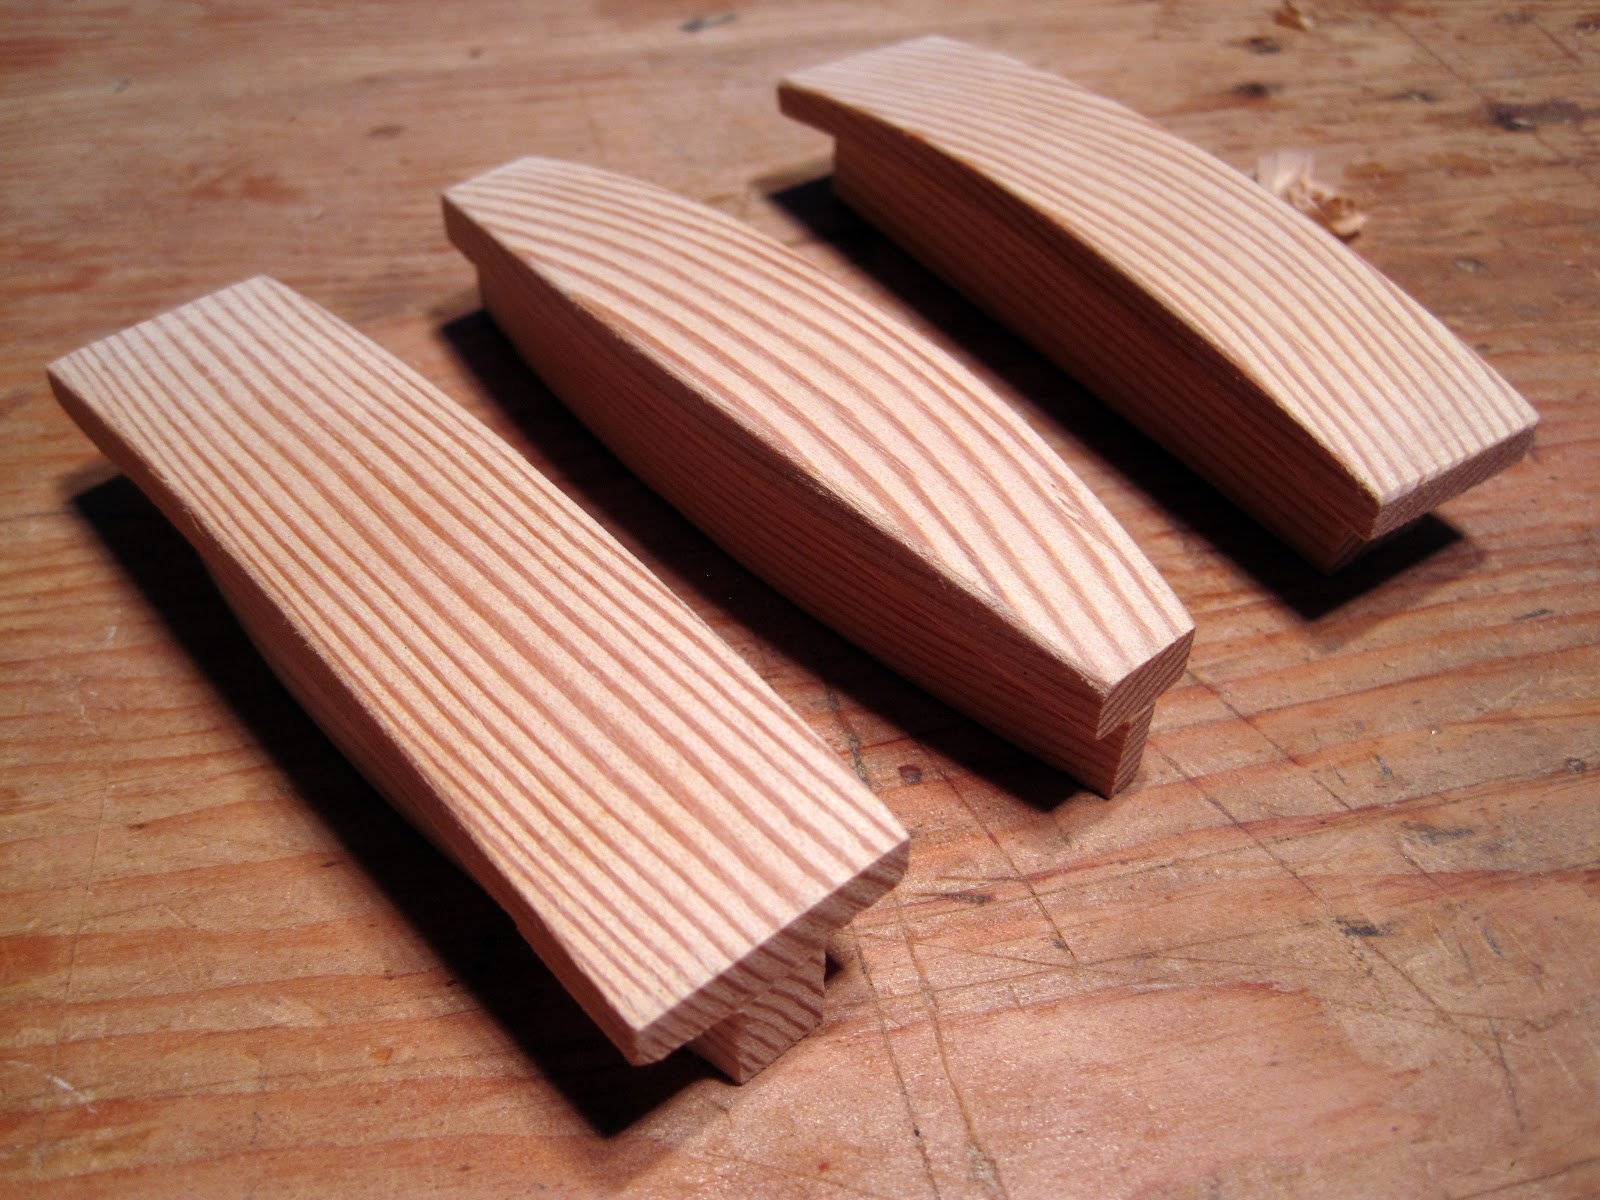
Here's my latest attempt. These are PROTOTYPES made from 1x1" fir, 4" wide. I still need to figure out how to do the pilot holes and might have to make a separate jig to hold them in place:
This is based on a plan I did earlier this year for shop cabinet pulls, all done on a table saw and finished up with a few quick passes of sandpaper and then water-poly

I wanted to machine an overhanging lip because this felt really comfortable on the fingertips when met with my thumb. really easy to pull this without feeling awkward. However...it's very blocky for in the house, so off i went looking into machining wood using screaming router bits and holders. but that translates into lots of adrenaline and frightened shop cats.
I then recalled some youtube videos of folks making very nice circle cutting jigs using their band saws and the a-ha moment occurred. Why not try jigging up using the bandsaw as my cutting tool?
TO date, this has been the most complex jig i've done up, and it was very ad-hoc. what you see here is a 1/2" ply base, clamped to the bandsaw table, and a sled that rides on top, with a 3/8" oak dowel pivot point set back at 9". I have two stop blocks for the sled that go between the base, and the fence of the saw. Take one swipe with block #1, and then switch in block #2 and take another pass. this leaves the plan view curve with overhang. I will then rip the interior piece about 1/4" thinner than the overhang, and then glue the pieces back together.
You can see the other ones resting on the side to the left. I actually took this pic after the first cuts were made so that you can see how they would fit together after being glued up. not sure if this makes any sense.
antother thing in this pic is a little piece of wood with some 80 grit paper glued to it. very important! this is what i use to hold the piece down to the jig while i make the pass. it holds really well and i felt in total control when performing this operation.

I also wanted to do a second pass on the pieces once their glue had dried to have a gentle radius along the elevation view. I used a larger radius here on the saw, also i shimmed the place where the pieces sat so that there was a gentle outward taper.
Here, i'm trying them out on the old cabinets on our kitchen. no better way to test them out than to have them in place for us to get a feel for 'em, right?
I tried two pulls on the drawer, too. Since i'll be using mechanical slides for the new cabinets, i dont think it's necessary to have two pulls, and looks a bit cluttered actually.